PrimeCal First Run
Get Set Up Without Guesswork
These guides follow the real first-run path in PrimeCal: create an account, complete the onboarding wizard, create a regular calendar, organize groups, and save the first event.
First-Run Path
Overview
Quick Start Guide
Read the full setup path in one pass before you dive into the detailed pages.
Account
Creating Your Account
Register, pass live validation, and complete the five onboarding steps with the current field behavior.
Setup
Initial Setup
Create a normal calendar, create groups, rename them, assign calendars, and keep the workspace tidy from day one.
Events
Creating Your First Event
Use the shared event modal correctly, understand the visible fields, and save the first event with confidence.
What Happens First
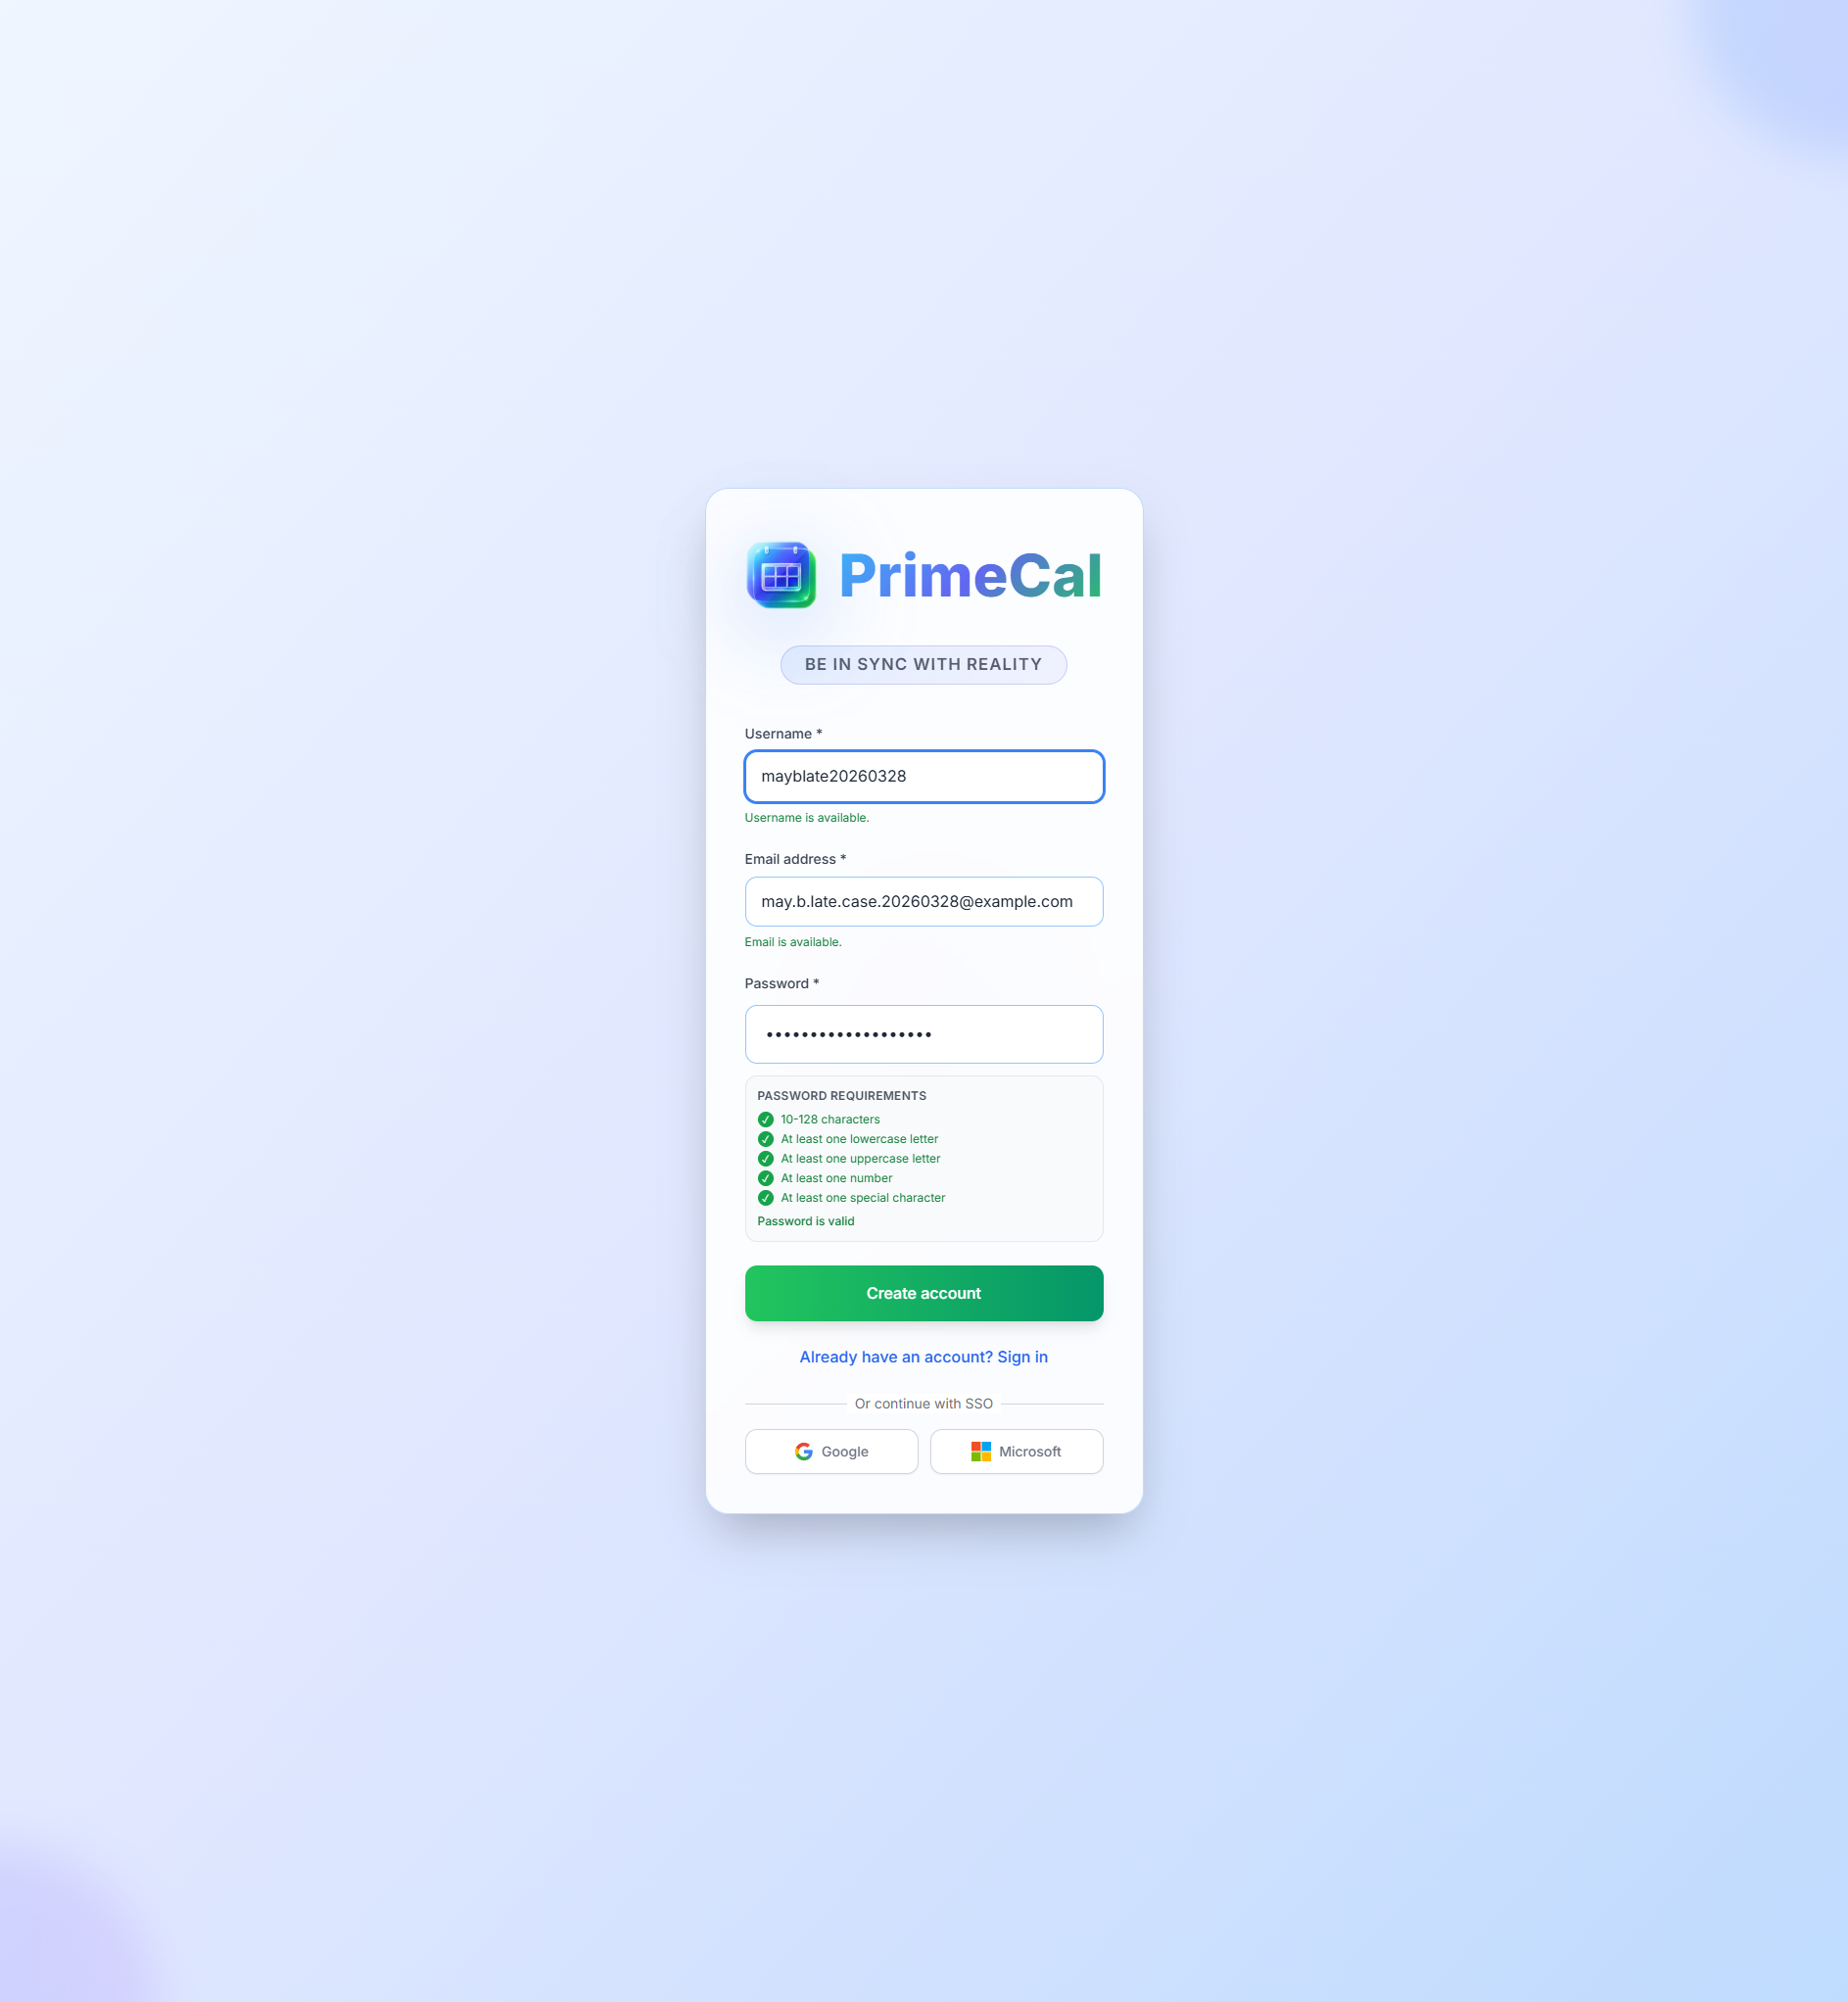
Register
Create the account with a username, email address, and password.
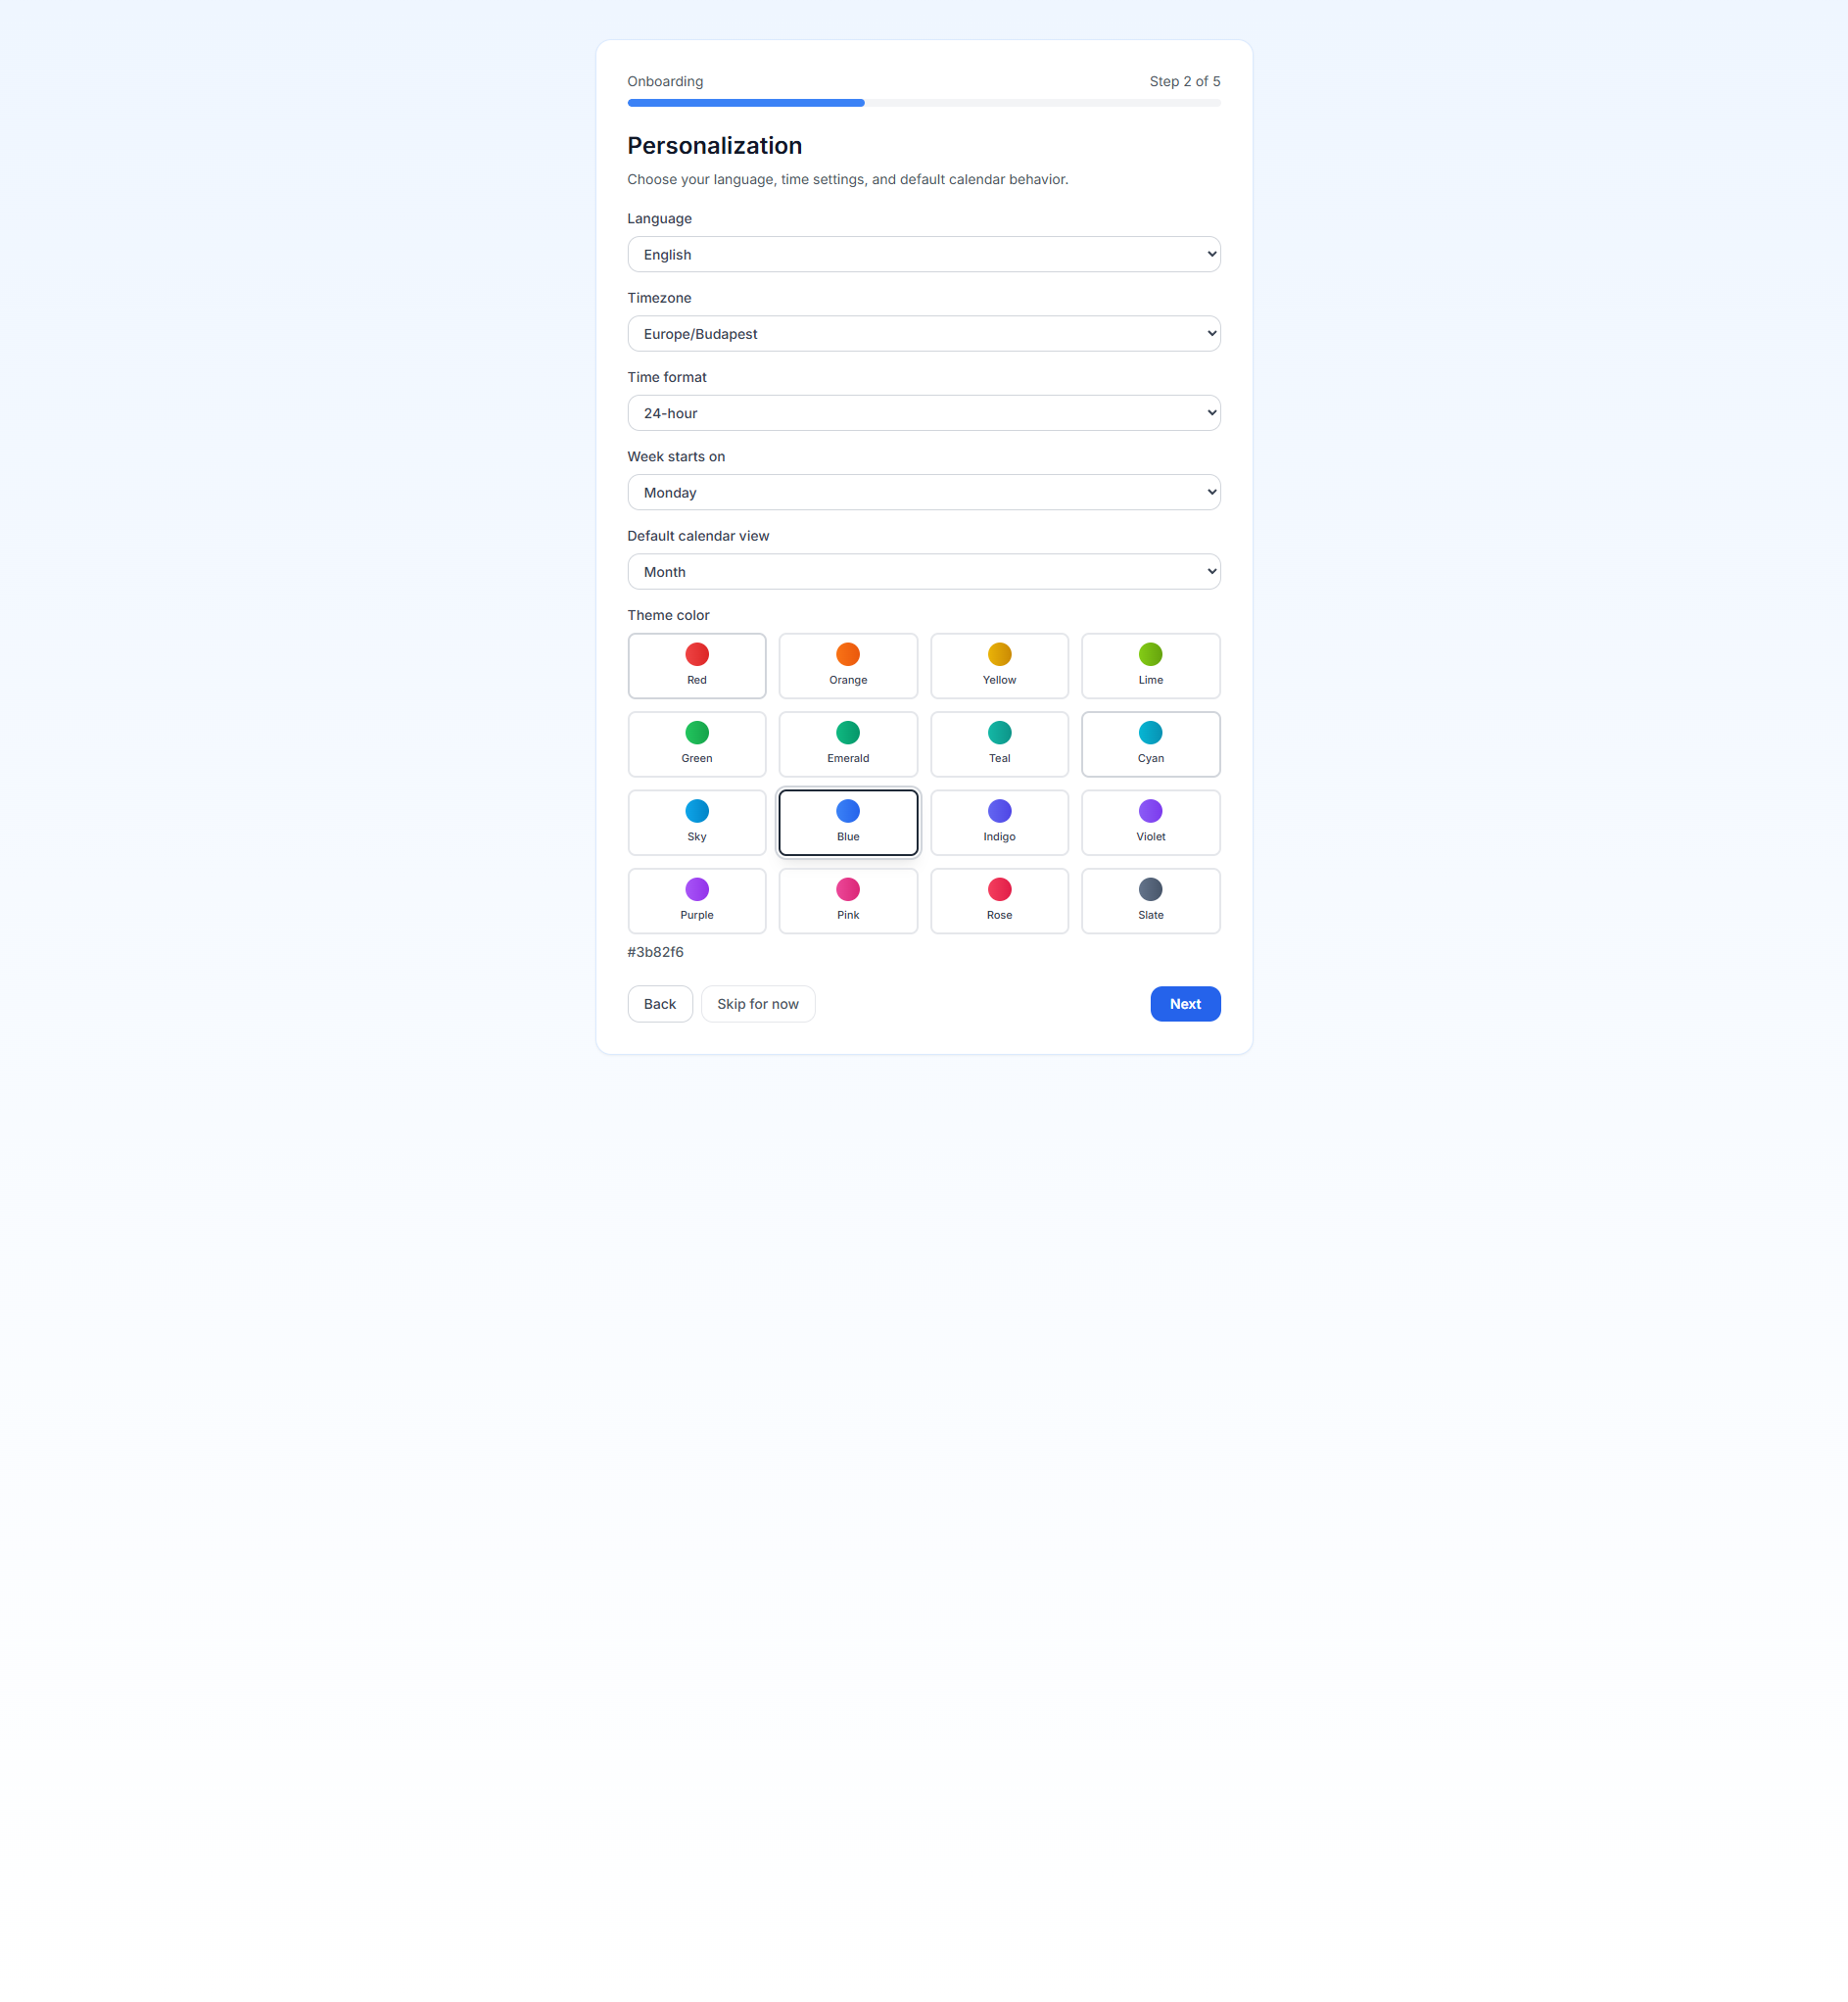
Finish Onboarding
Choose your language, timezone, week settings, and compliance choices in the guided wizard.
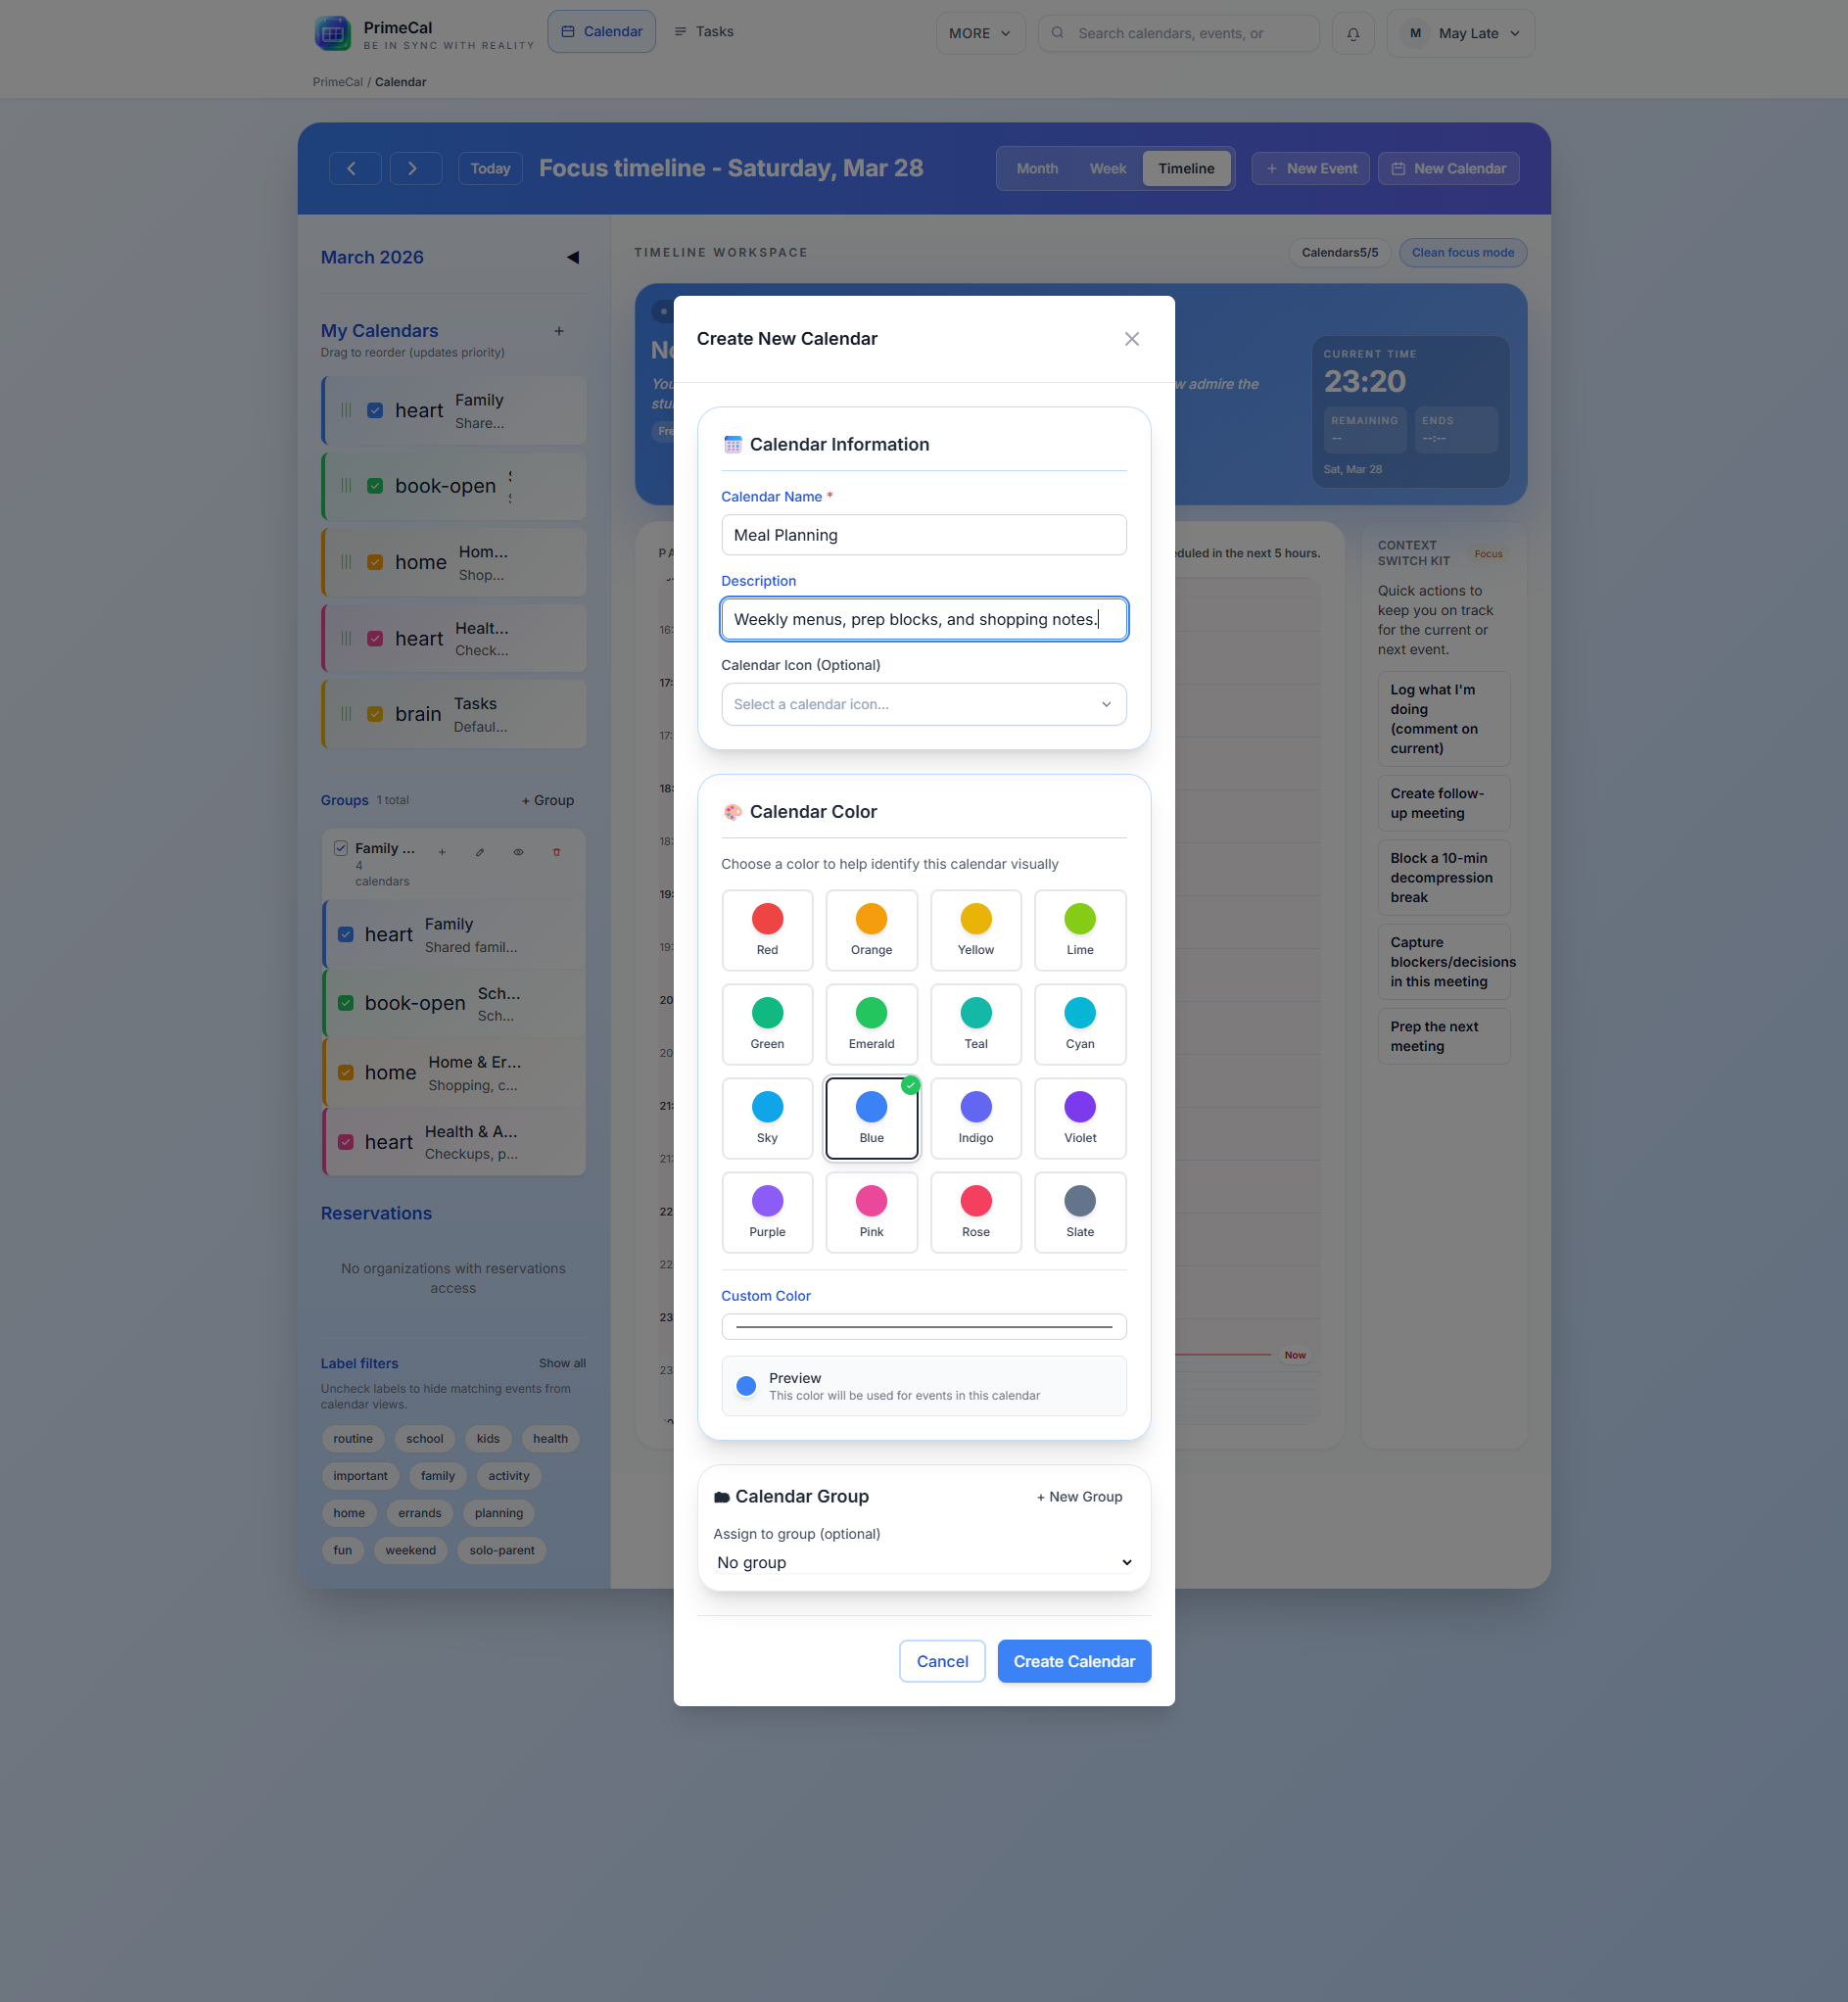
Create A Real Calendar
The default Tasks calendar is useful for task capture, but most users should add a normal calendar right away.
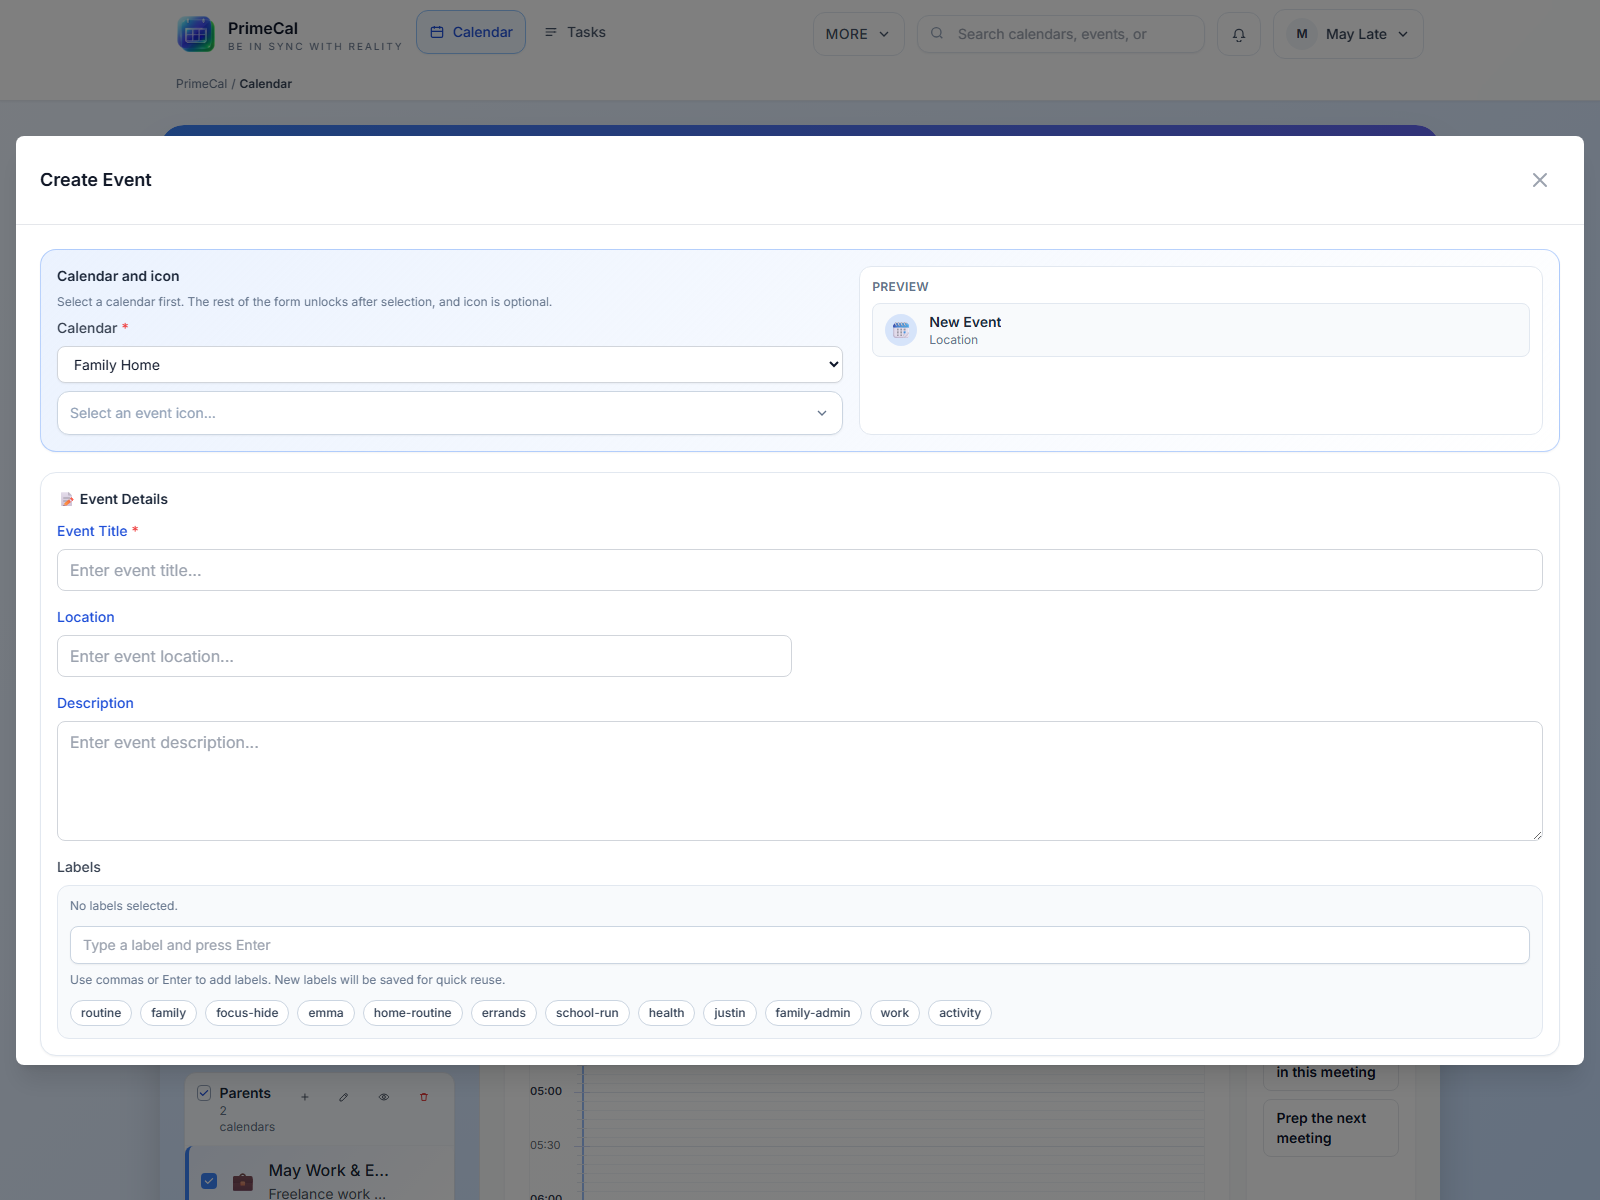
Start Planning
Create the first event, then continue into Month, Week, and Focus view in the user guide.
What The Setup Looks Like
Registration
Sign-up form
Onboarding
Personalization step
Calendar setup
Create calendar dialog
First event
Event modal
PrimeCal creates a private Tasks calendar automatically so the Tasks workspace works immediately. That does not replace a normal family, personal, or work calendar, so most users should create one during initial setup.