Exploring the Interface
When you first sign into PrimeCal, you'll see a clean three-panel layout: a sidebar on the left, a top bar, and the main calendar workspace. This page walks you through what everything does.
The Left Sidebar
The sidebar is where you manage your calendars and navigate between sections.
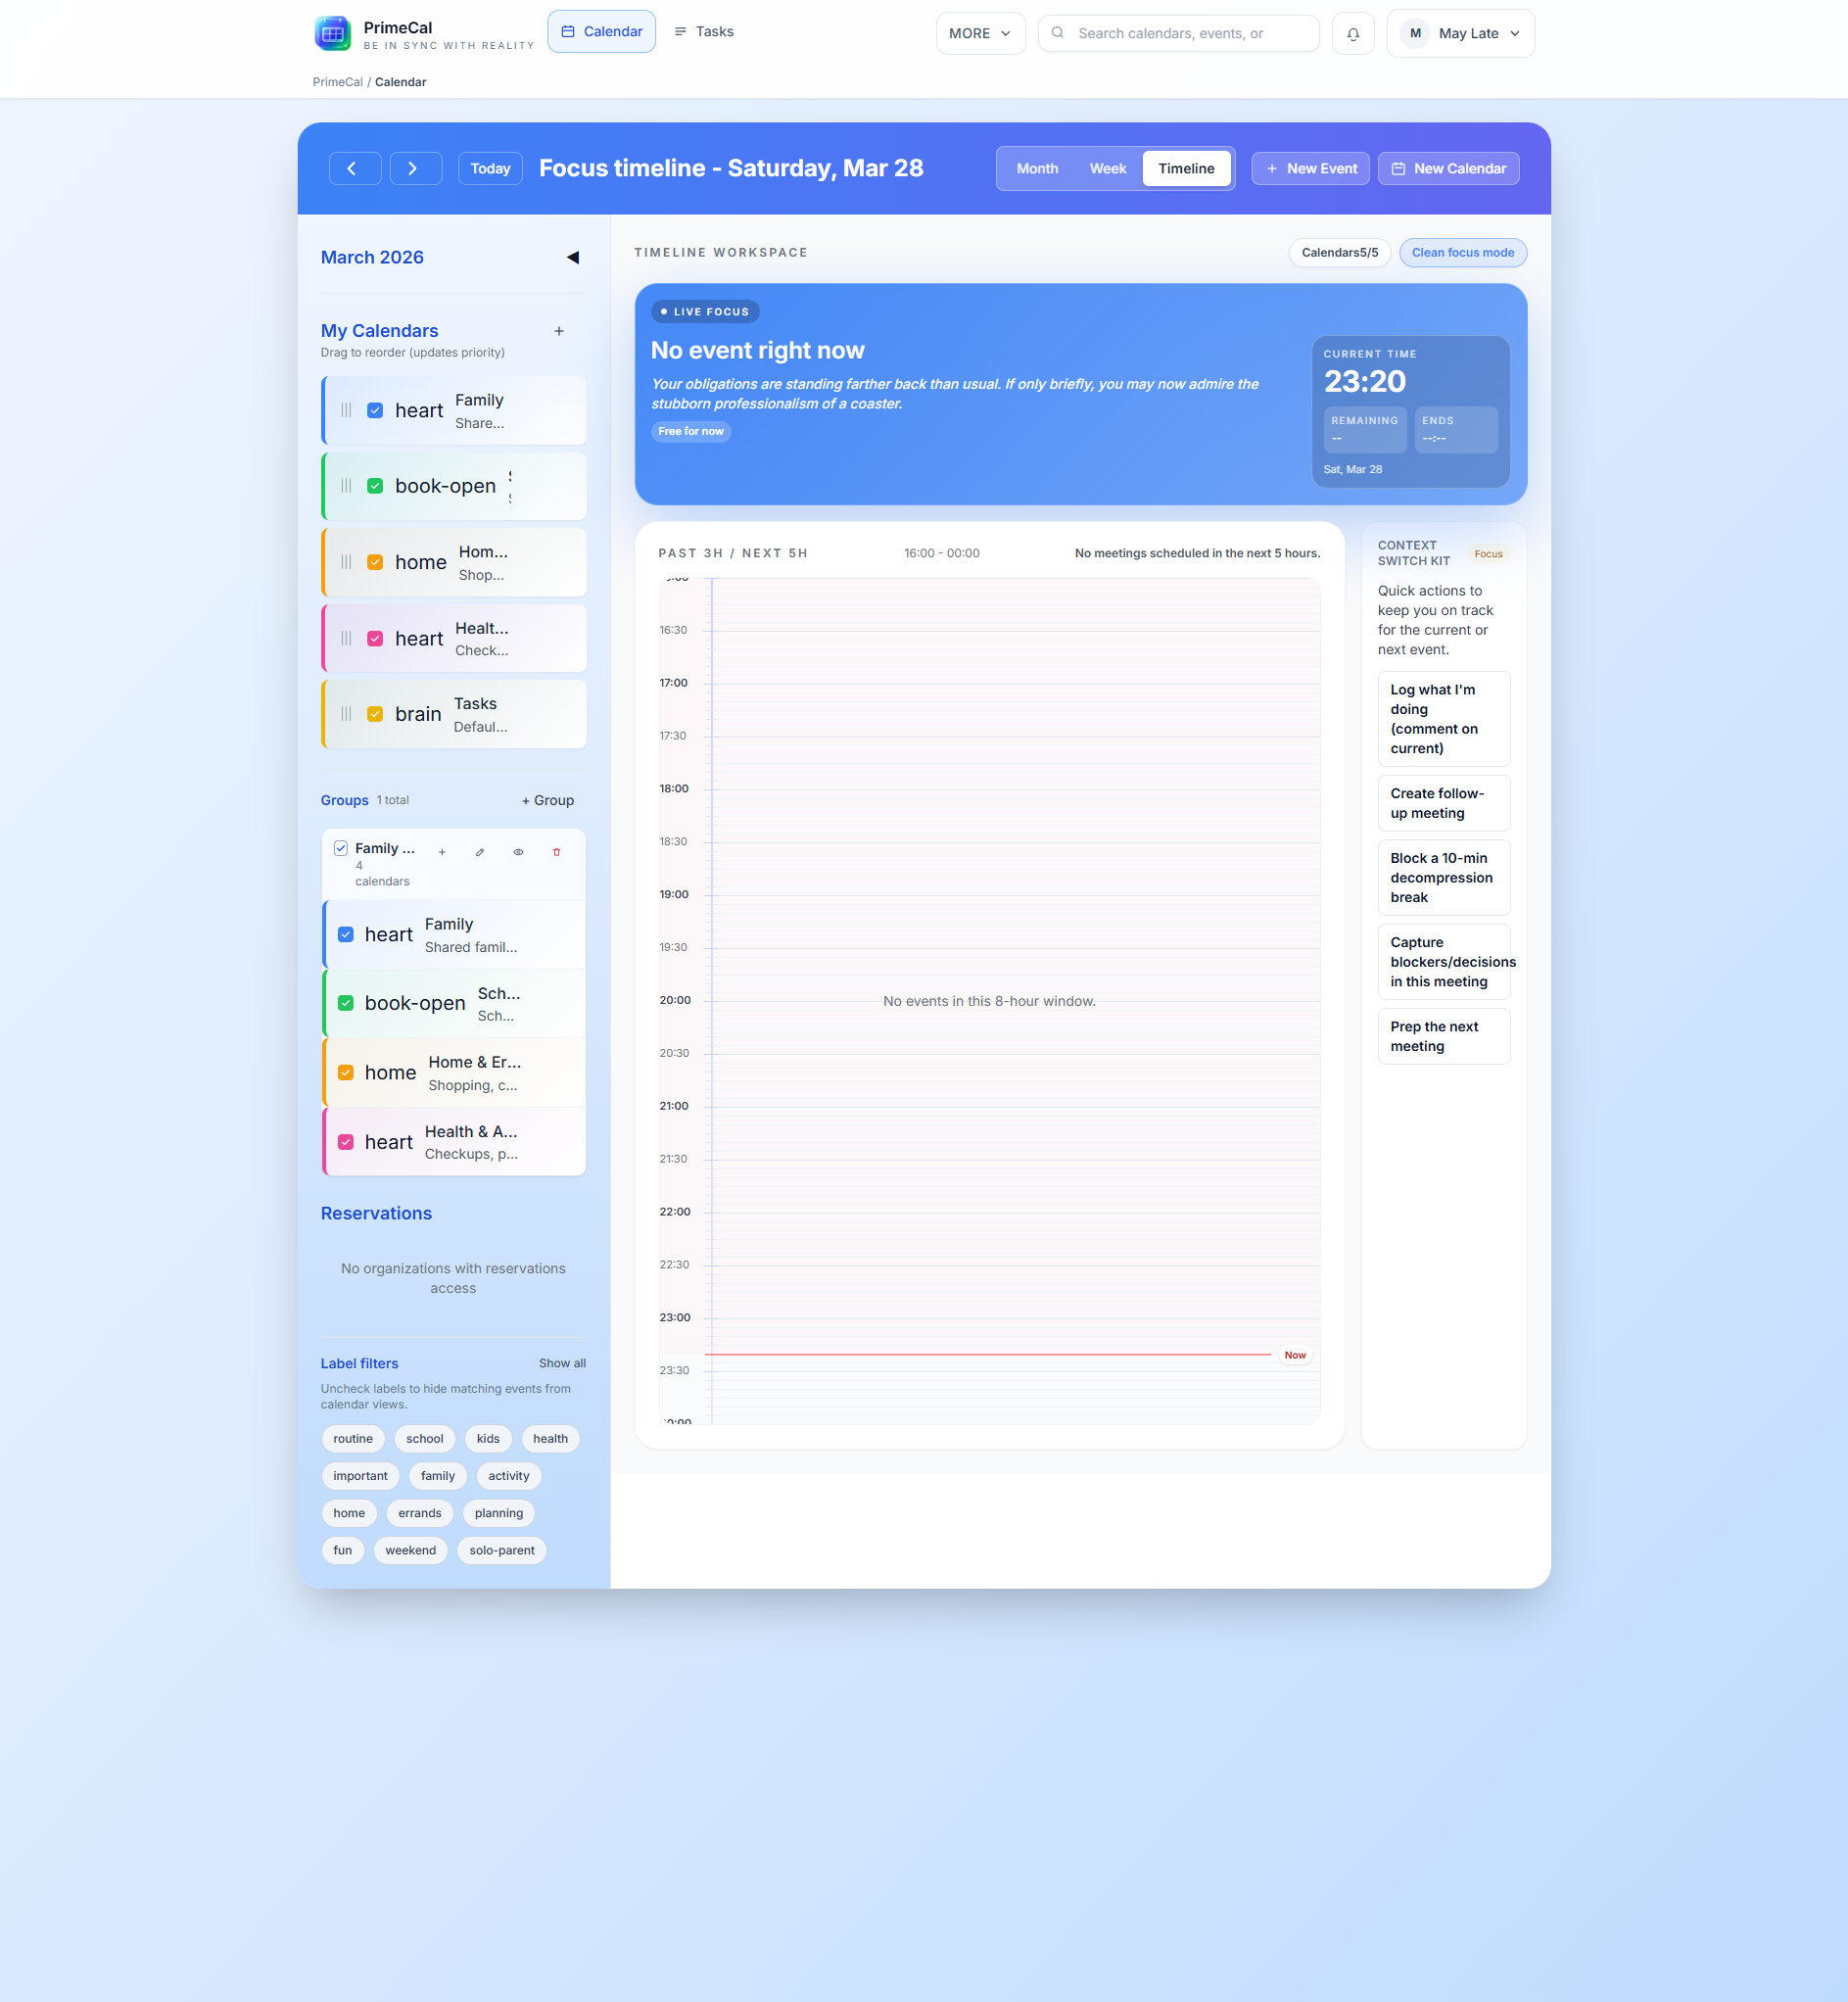
Calendar List
Every calendar you own or have access to appears in the sidebar, color-coded with its assigned color. Click any calendar's checkbox to show or hide it in the main view. This is how you quickly focus on just your personal calendar or see everything at once.
Calendars can be organized into groups — collapsible folder-like containers. For example, May Blate has a "Family" group containing the "Late Family" shared calendar and the kids' school calendars. She can collapse the entire group if she just wants to focus on her personal schedule.
Sidebar Actions
Next to each calendar name you'll see a three-dot menu (hover to reveal it). This menu lets you:
- Edit the calendar name and color
- Share the calendar with other PrimeCal users
- Create new group to organize calendars
- Delete the calendar
At the bottom of the sidebar there's a New Calendar button (or a "+" icon depending on your screen size). Click it to create a fresh calendar.
Section Navigation
On desktop, the sidebar also contains links to other sections of PrimeCal:
- Calendar — the main calendar views
- Tasks — your task workspace (if your plan includes it)
- Automation — your automation rules (if your plan includes it)
On mobile, these sections are accessible via the bottom tab bar instead.
The Top Navigation Bar
The top bar runs across the full width and contains the most-used controls.
View Switcher
On the left side of the top bar (or center on mobile) you'll find buttons to switch between PrimeCal's three views:
- Focus — live timeline for right now
- Month — classic month grid
- Week — hourly time slots for the week
The active view is highlighted. Switching views is instant.
Date Navigation
Next to the view switcher you'll find arrow buttons to go to the previous or next time period (previous/next month in Month view, previous/next week in Week view). There's also a Today button to jump back to the current date.
Clicking the current date/period label often opens a date picker so you can jump to any date quickly.
New Event Button
The + New Event button (sometimes shown as just "+" on mobile) opens the event creation modal. You can also create events by clicking directly on the calendar — clicking a day cell in Month view, or dragging across a time range in Week view.
Your Profile and Settings
Your user avatar or initials appear in the top-right corner. Click it to open a dropdown with:
- Profile & Settings — timezone, language, theme color, time format (12h/24h), and account details
- Subscription — your current plan and upgrade options
- Sign out
The Main Calendar Workspace
The large central area is where your events live. What you see here depends on which view you've selected.
Month View
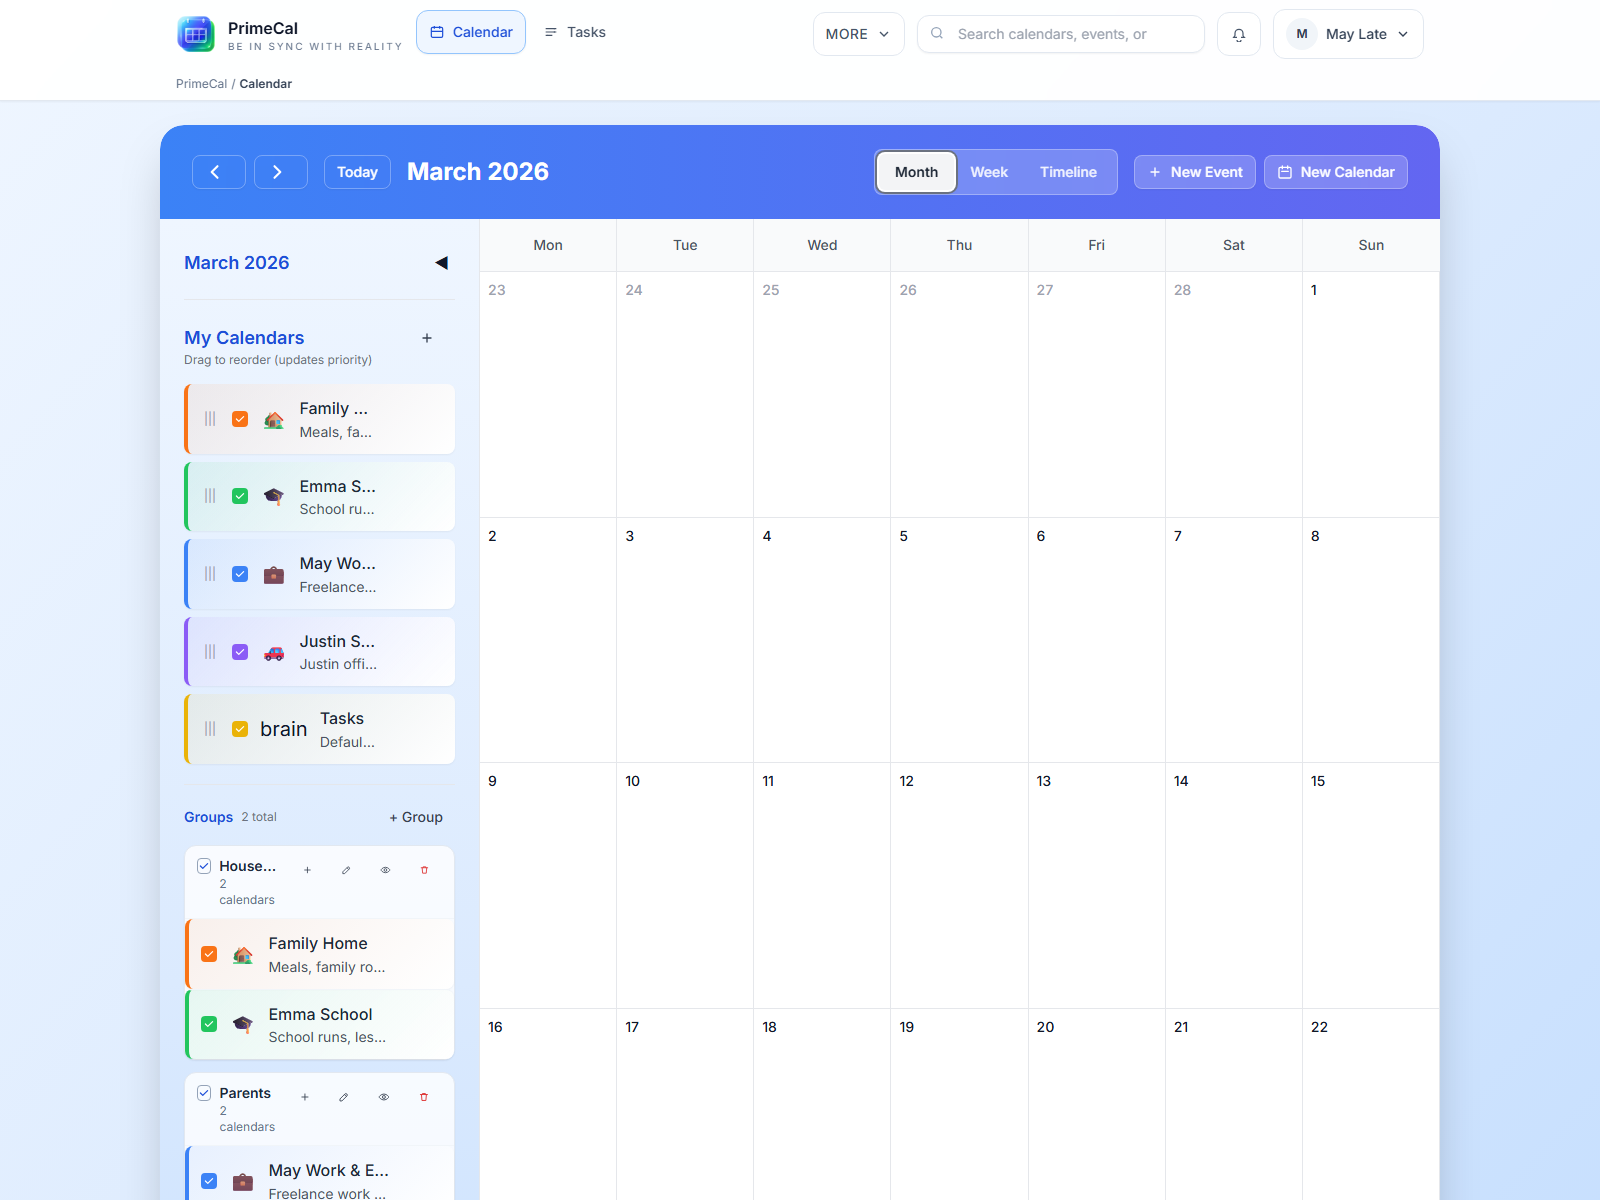
Month view shows a traditional calendar grid: 7 columns (Sunday through Saturday) and 5–6 rows of weeks. Each day cell displays:
- The day number in the top corner (today's date is highlighted)
- Event titles for events on that day, shown in their calendar's color
- A "+X more" link if there are more events than fit in the cell — click it to see all events for that day
Click any event to open its detail view. Click any empty day cell to start creating a new event on that date.
Week View
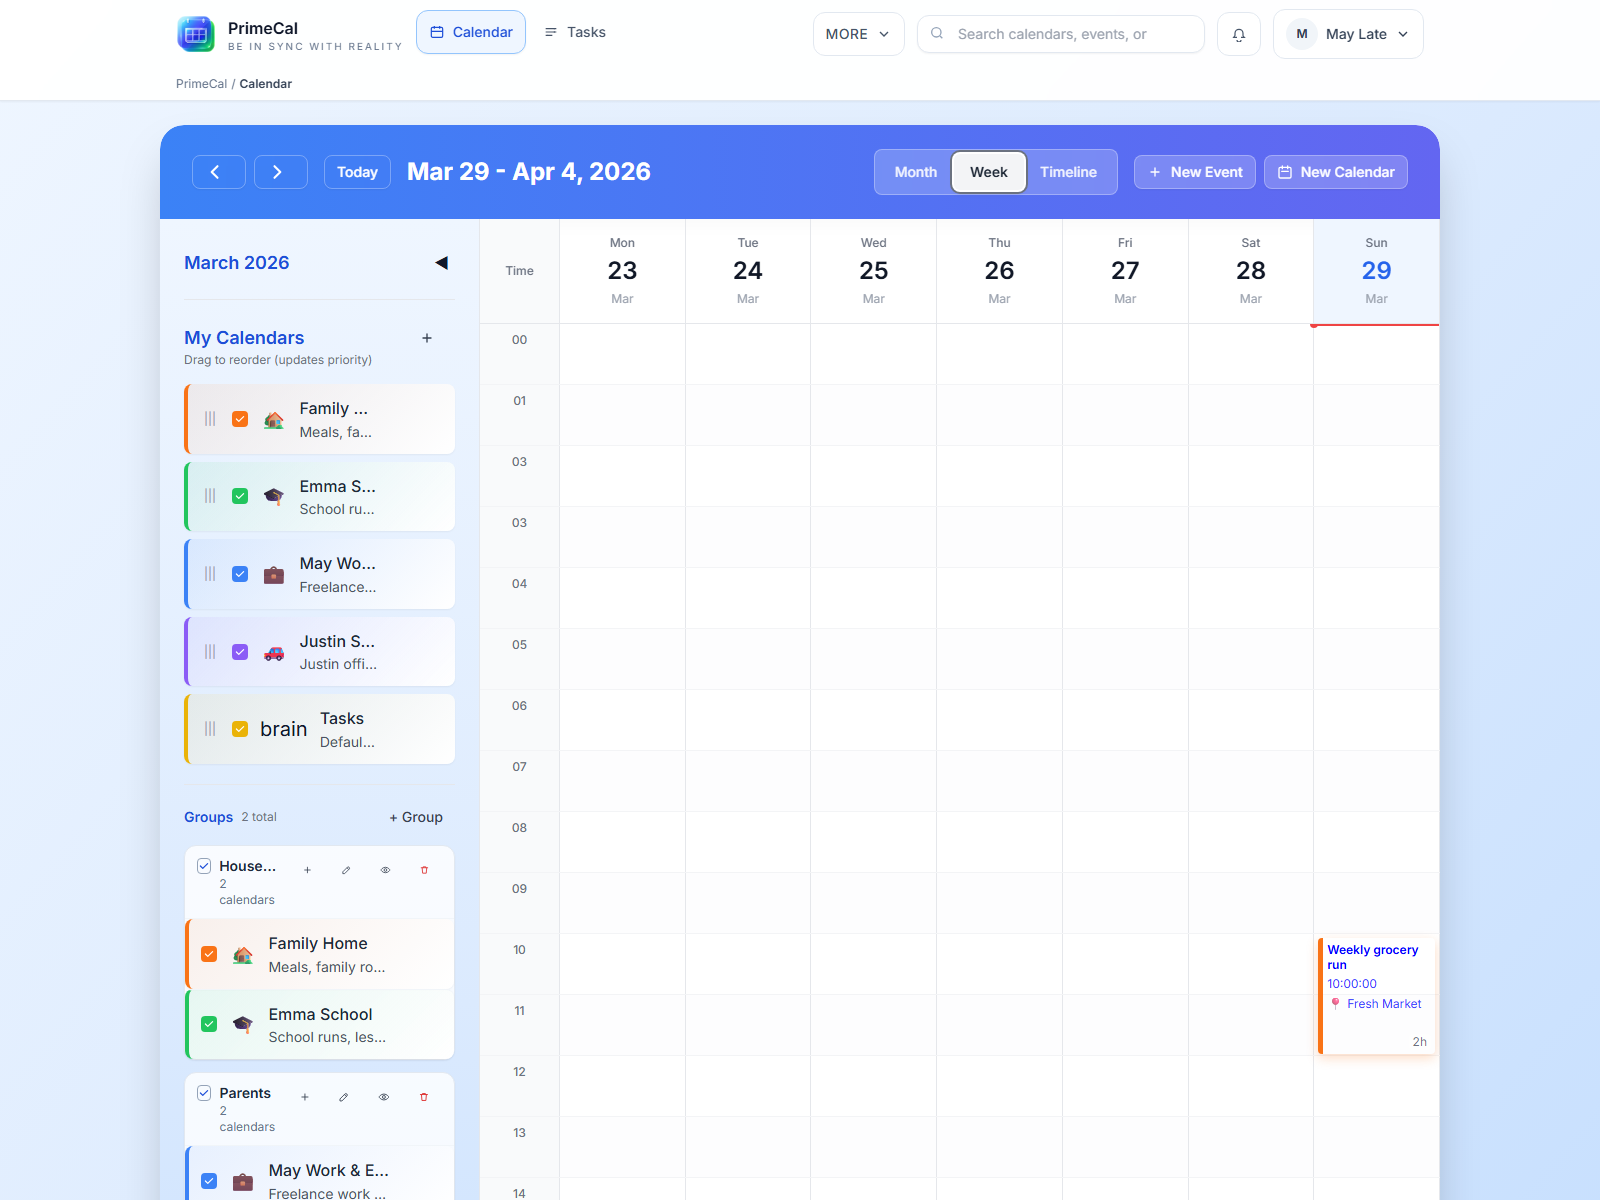
Week view shows 7 columns — one per day — with horizontal rows representing each hour of the day. A red line shows the current time.
Key interactions:
- Click an event block to see its details
- Drag across time slots to select a time range, then release to create a new event covering that range — Will uses this to quickly block out "deep work" time
- Resize events by dragging the bottom edge of an event block
- Scroll up/down to see earlier or later hours
All-day events appear as banner blocks at the top of the day columns, above the hourly grid.
Focus View
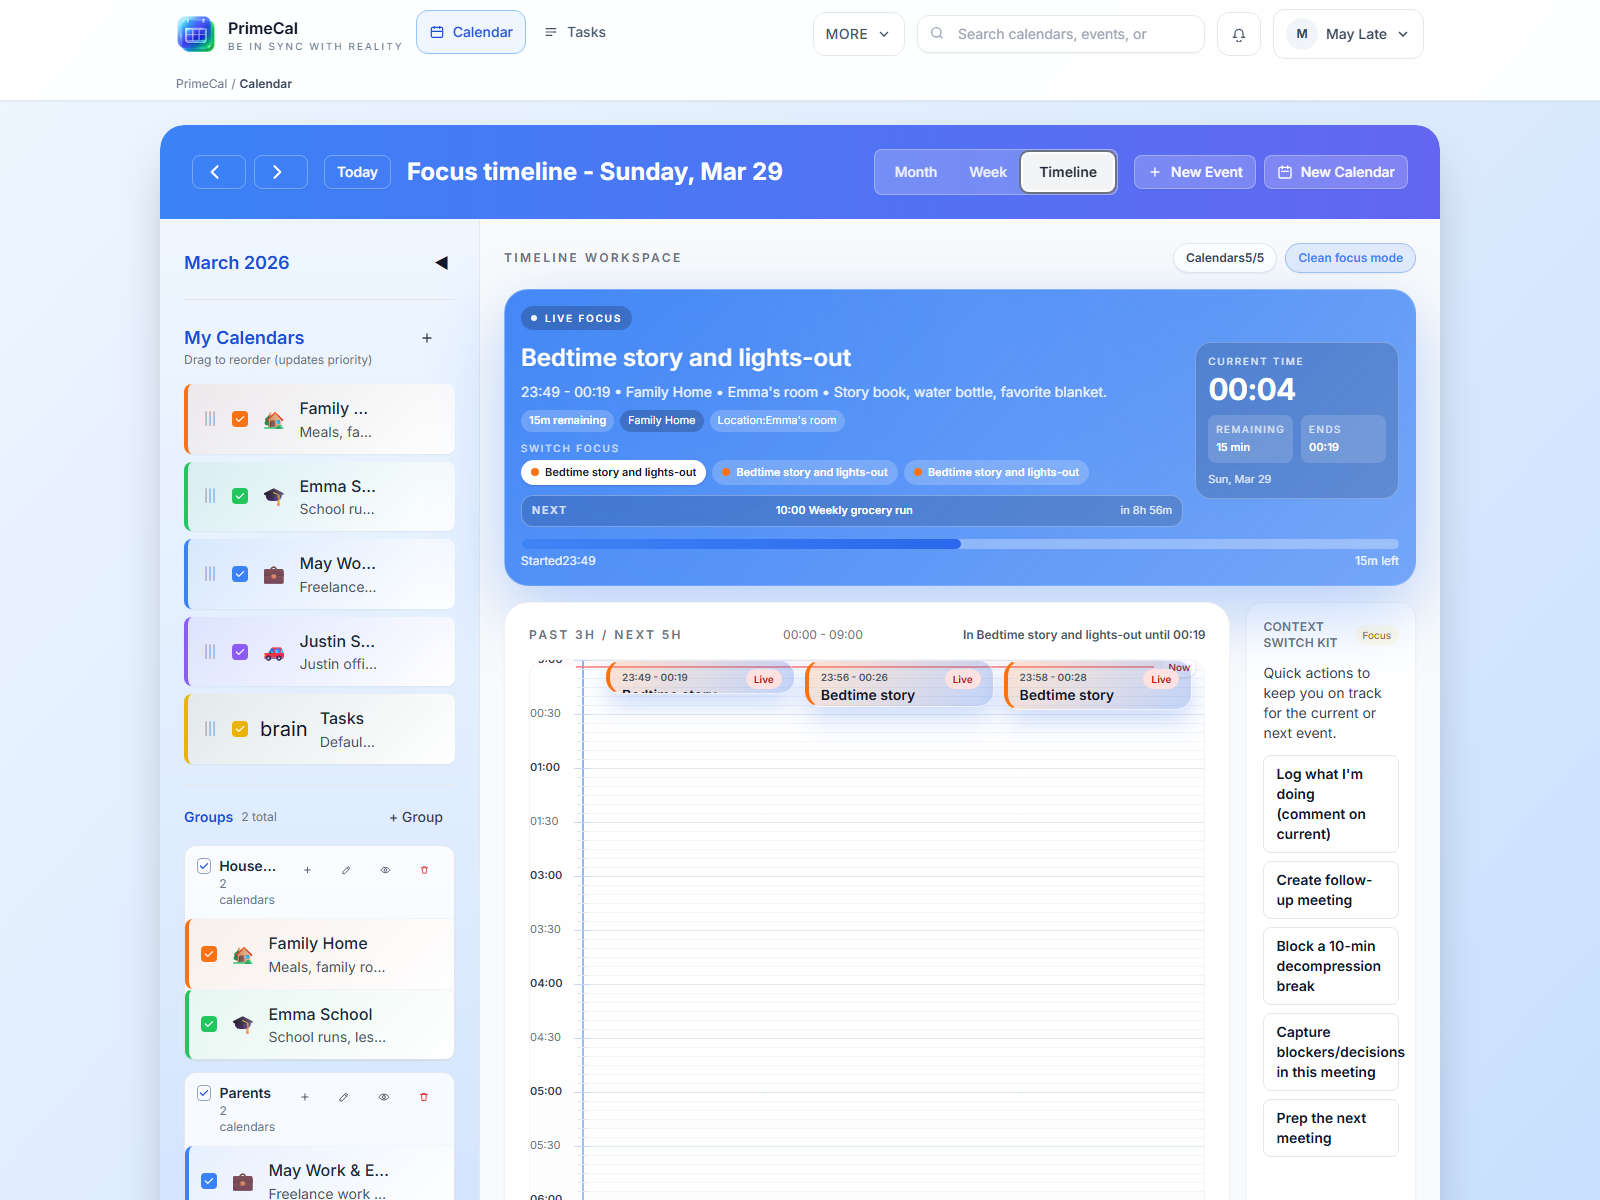
Focus view is different from the other two — it's not a grid, it's a live timeline. It shows:
- A live clock with the current time
- Your current event (what's happening right now), highlighted prominently
- Your upcoming events for the rest of the day, in order
The view updates in real time as time passes and events start or end. It's ideal for keeping PrimeCal open in a browser tab and glancing at it between tasks.
Creating Your First Event
You can create an event from anywhere:
- Click + New Event in the top bar, or
- Click a day cell in Month view, or
- Drag across a time range in Week view
The event creation modal appears:
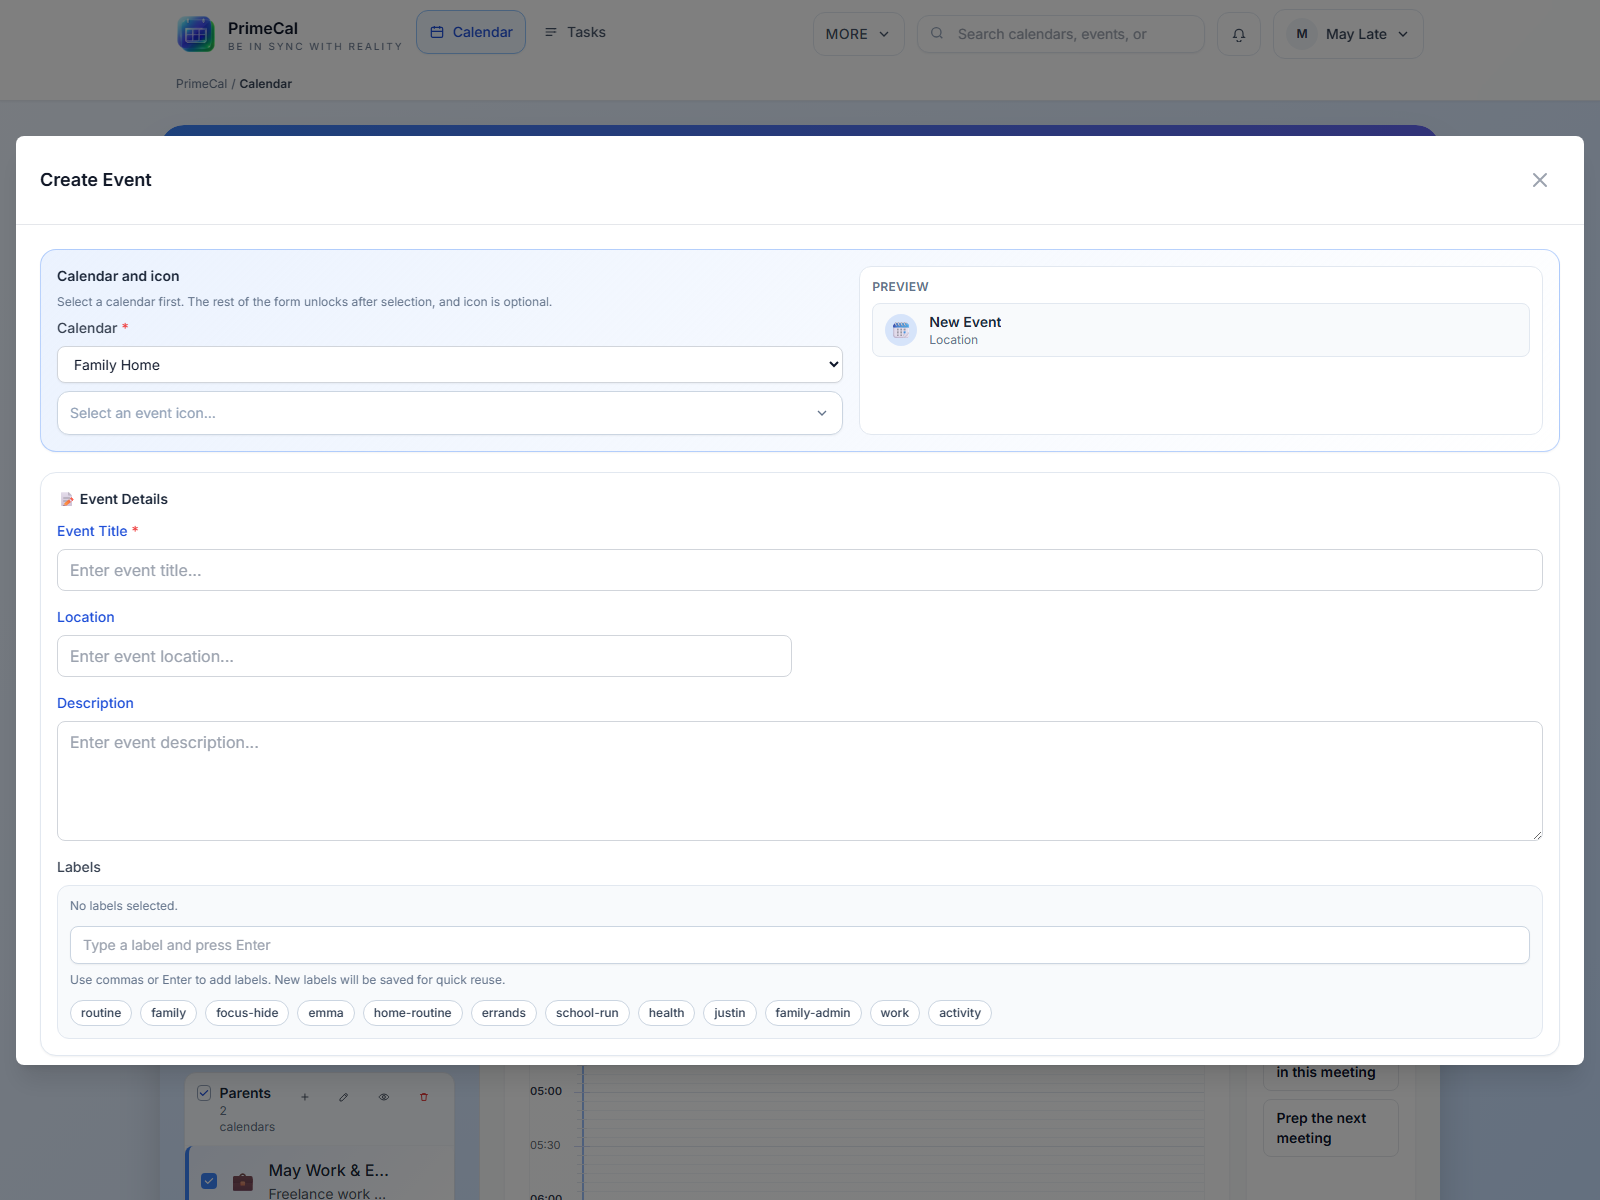
Fill in:
- Title — what the event is
- Start and end time — or check "All day" if it has no specific time
- Calendar — which of your calendars to add it to (defaults to your primary calendar)
- Color — optional per-event color override
- Location, notes, description — optional additional details
- Recurrence — if it repeats (daily, weekly, monthly, or custom)
Click Save and the event appears immediately on your calendar.
Quick Tips
Press N to open the new event modal quickly. Press T to jump to today. Arrow keys navigate between days/weeks in most views.
If your view gets crowded, uncheck a calendar in the sidebar to hide all its events temporarily. Your data is safe — the events are just hidden from view until you check the box again.
On a phone or tablet, the bottom tab bar replaces the sidebar for navigation. Swipe left/right on the calendar to go to the previous/next period.