Configuring an Agent in PrimeCal
Use this flow to prepare a secure PrimeCal MCP connection for one external MCP host using a manually-generated static API key.
If your AI assistant offers a Connect button and supports OAuth, see Connecting via OAuth instead — it creates and scopes an agent for you automatically, without a key to copy and paste.
Before You Start
- Sign in as
mayblatein a local/demo environment. - Open
More->AI Agents (MCP).
MCP is always available when PrimeCal is deployed and configured. You do not turn MCP on with a feature flag. Access is controlled only by agent profiles, API keys, and permission scope.
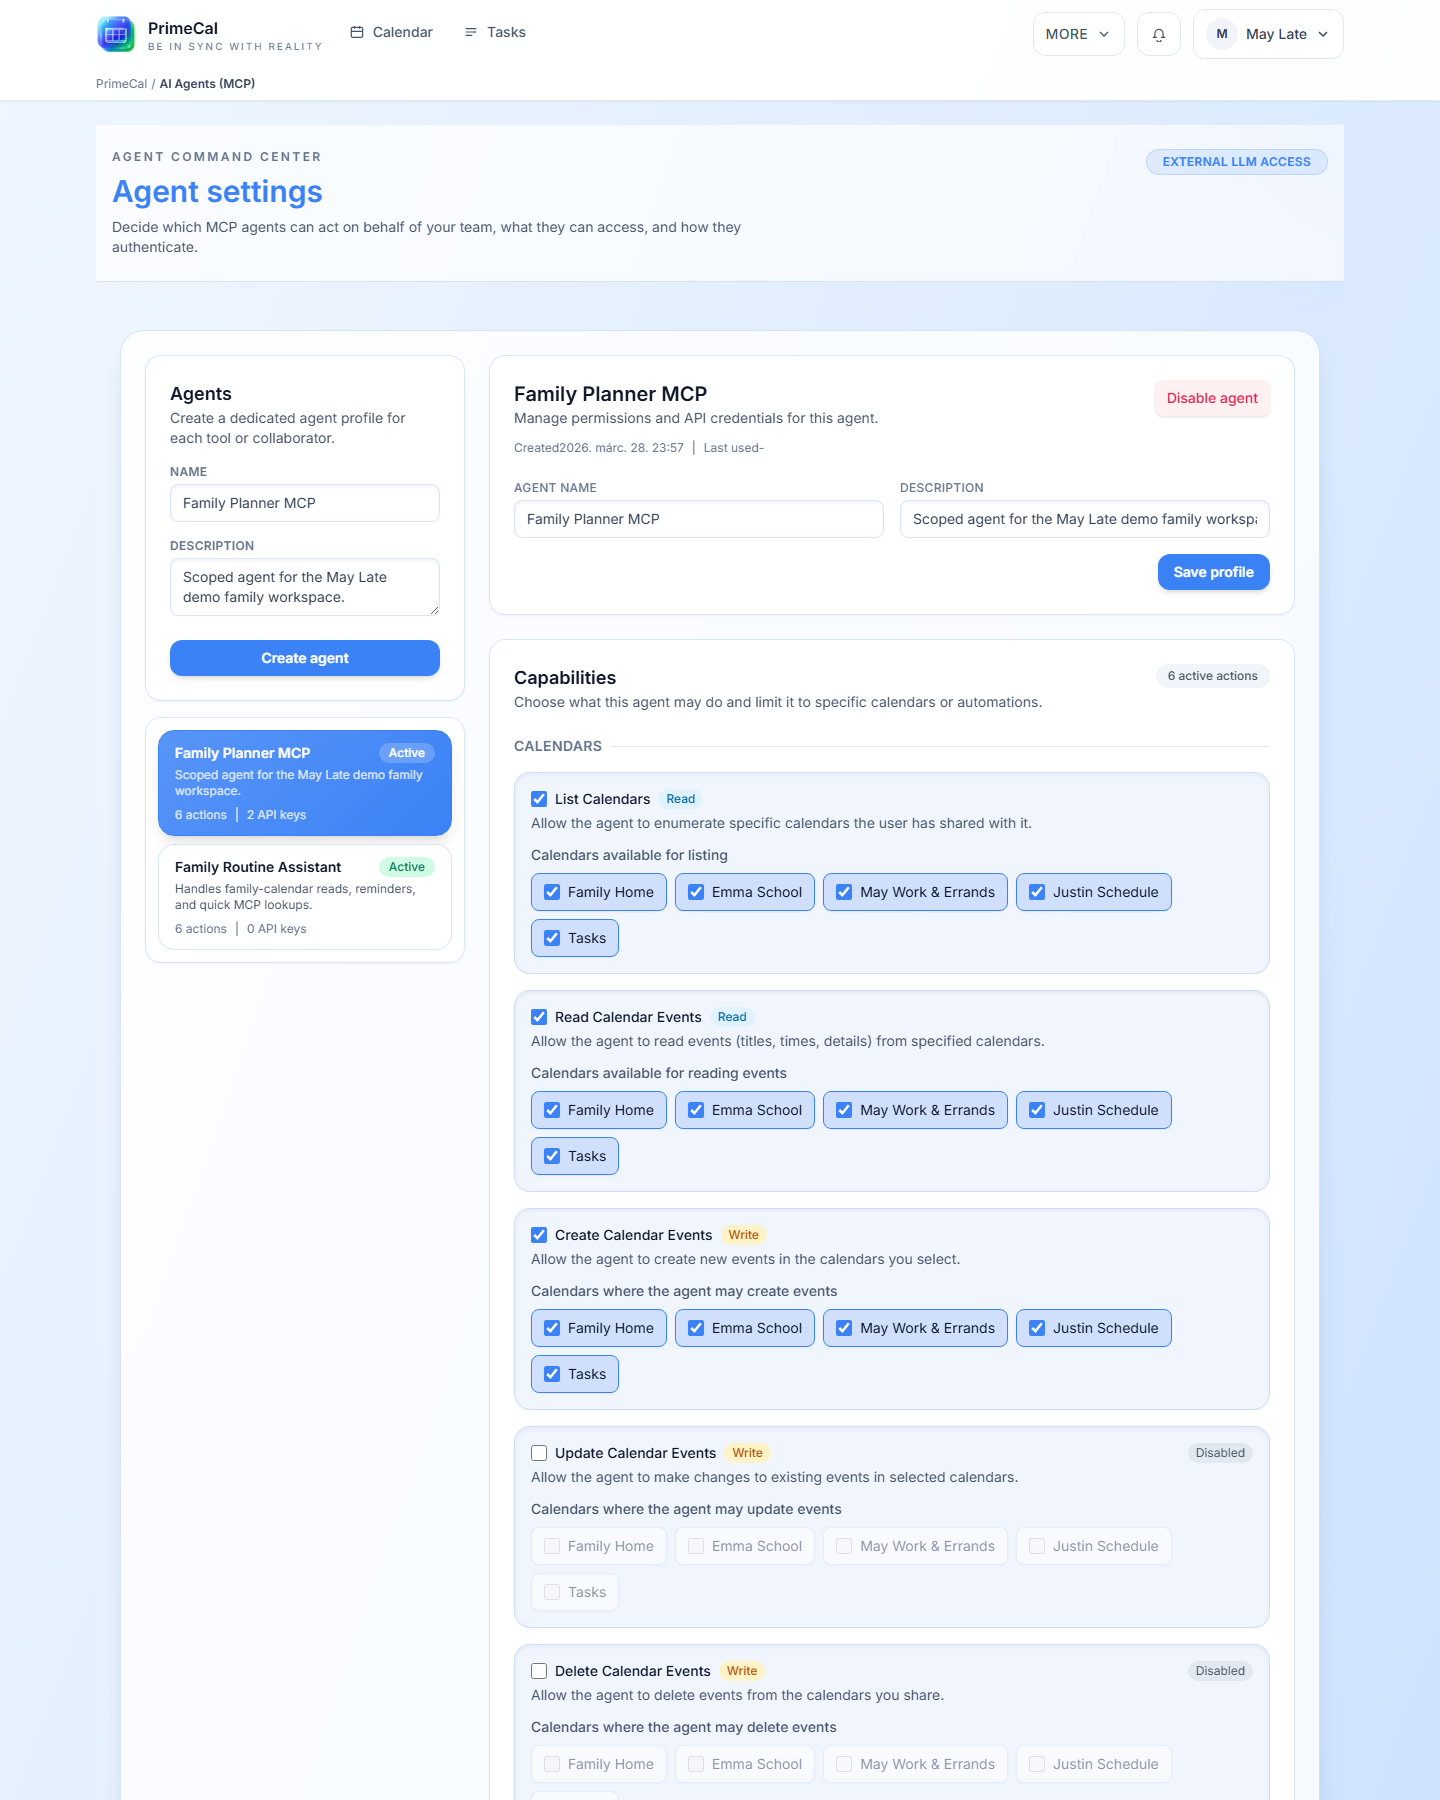
Step 1: Create an Agent Profile
- Click
Create agent. - Name it clearly, for example
May.B.Late Chrome MCP. - Add a short description with host and purpose.
Recommended naming pattern:
- Agent name:
<user/workspace> <host> <purpose> - Key label:
<machine or browser>-<date>
Step 2: Pick a Permission Group First
Start with the permission group selector above the detailed matrix.
Minimal: safest starting point for profile, context, calendar reads, and task reads.All read-only: recommended default for exploration, support bots, and reporting assistants.Operational read/write: for agents that must create tasks, create or update calendar events, create reservations, or trigger automation rules.Full MCP admin: reserved for highly trusted internal use. This option is intentionally restricted.
Prefer the smallest group that matches the job. If you later need one-off edits, switch to Custom and tighten the exact actions and scoped resources yourself.
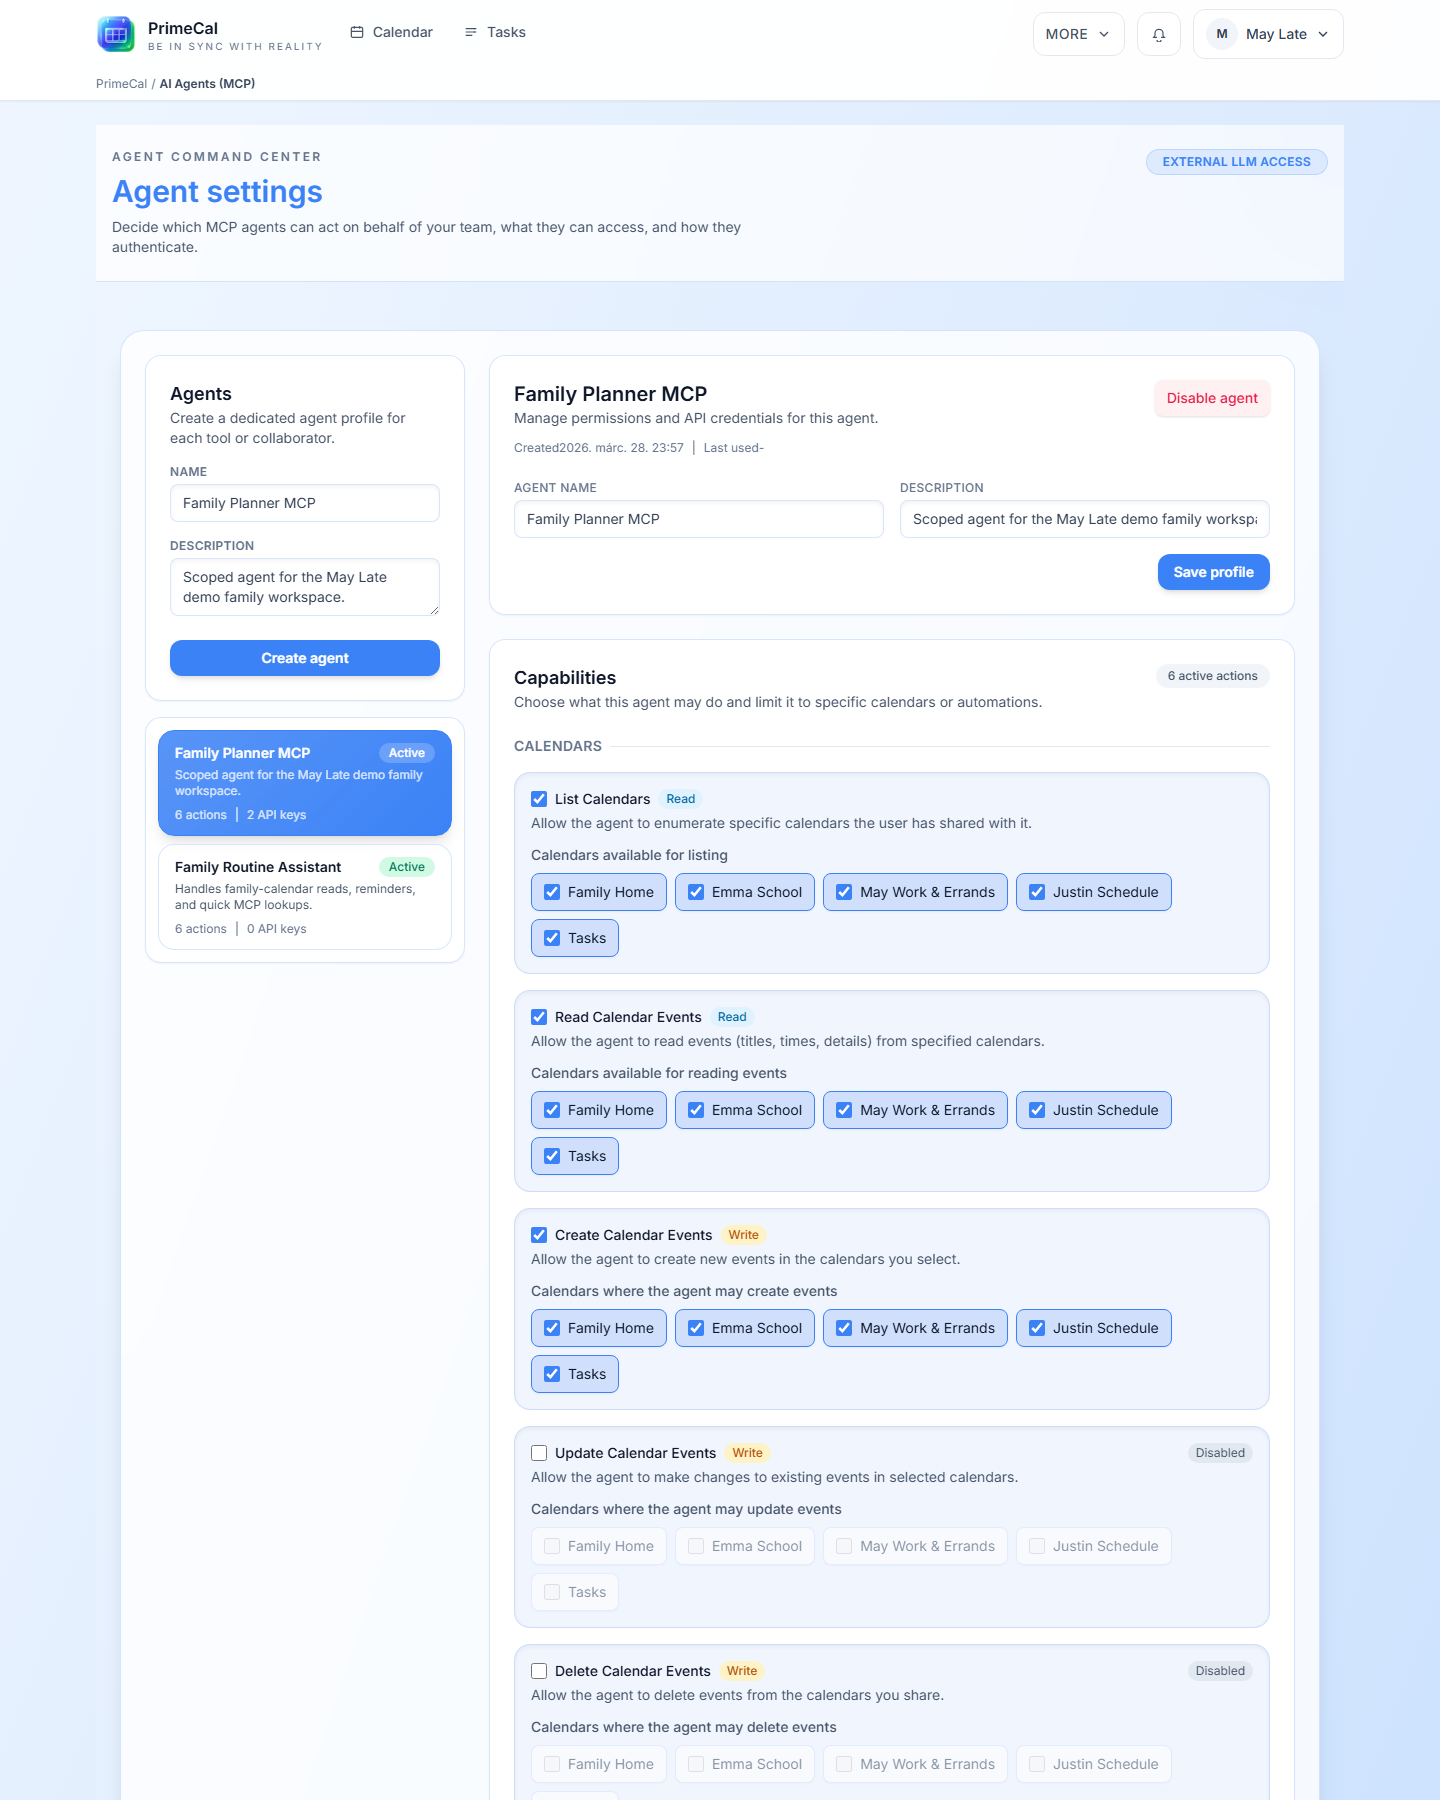
Step 3: Review the Prefilled Permission Matrix
After choosing a group, PrimeCal pre-selects the underlying MCP actions and the current scoped resources that belong to your account.
Typical safe starter setup for daily planning assistants:
- permission group:
All read-only - optional custom additions:
tasks.create,tasks.update,calendar.events.create,calendar.events.update
Add automation triggers and destructive actions only when the workflow truly requires them.
Step 4: Generate and Store an API Key
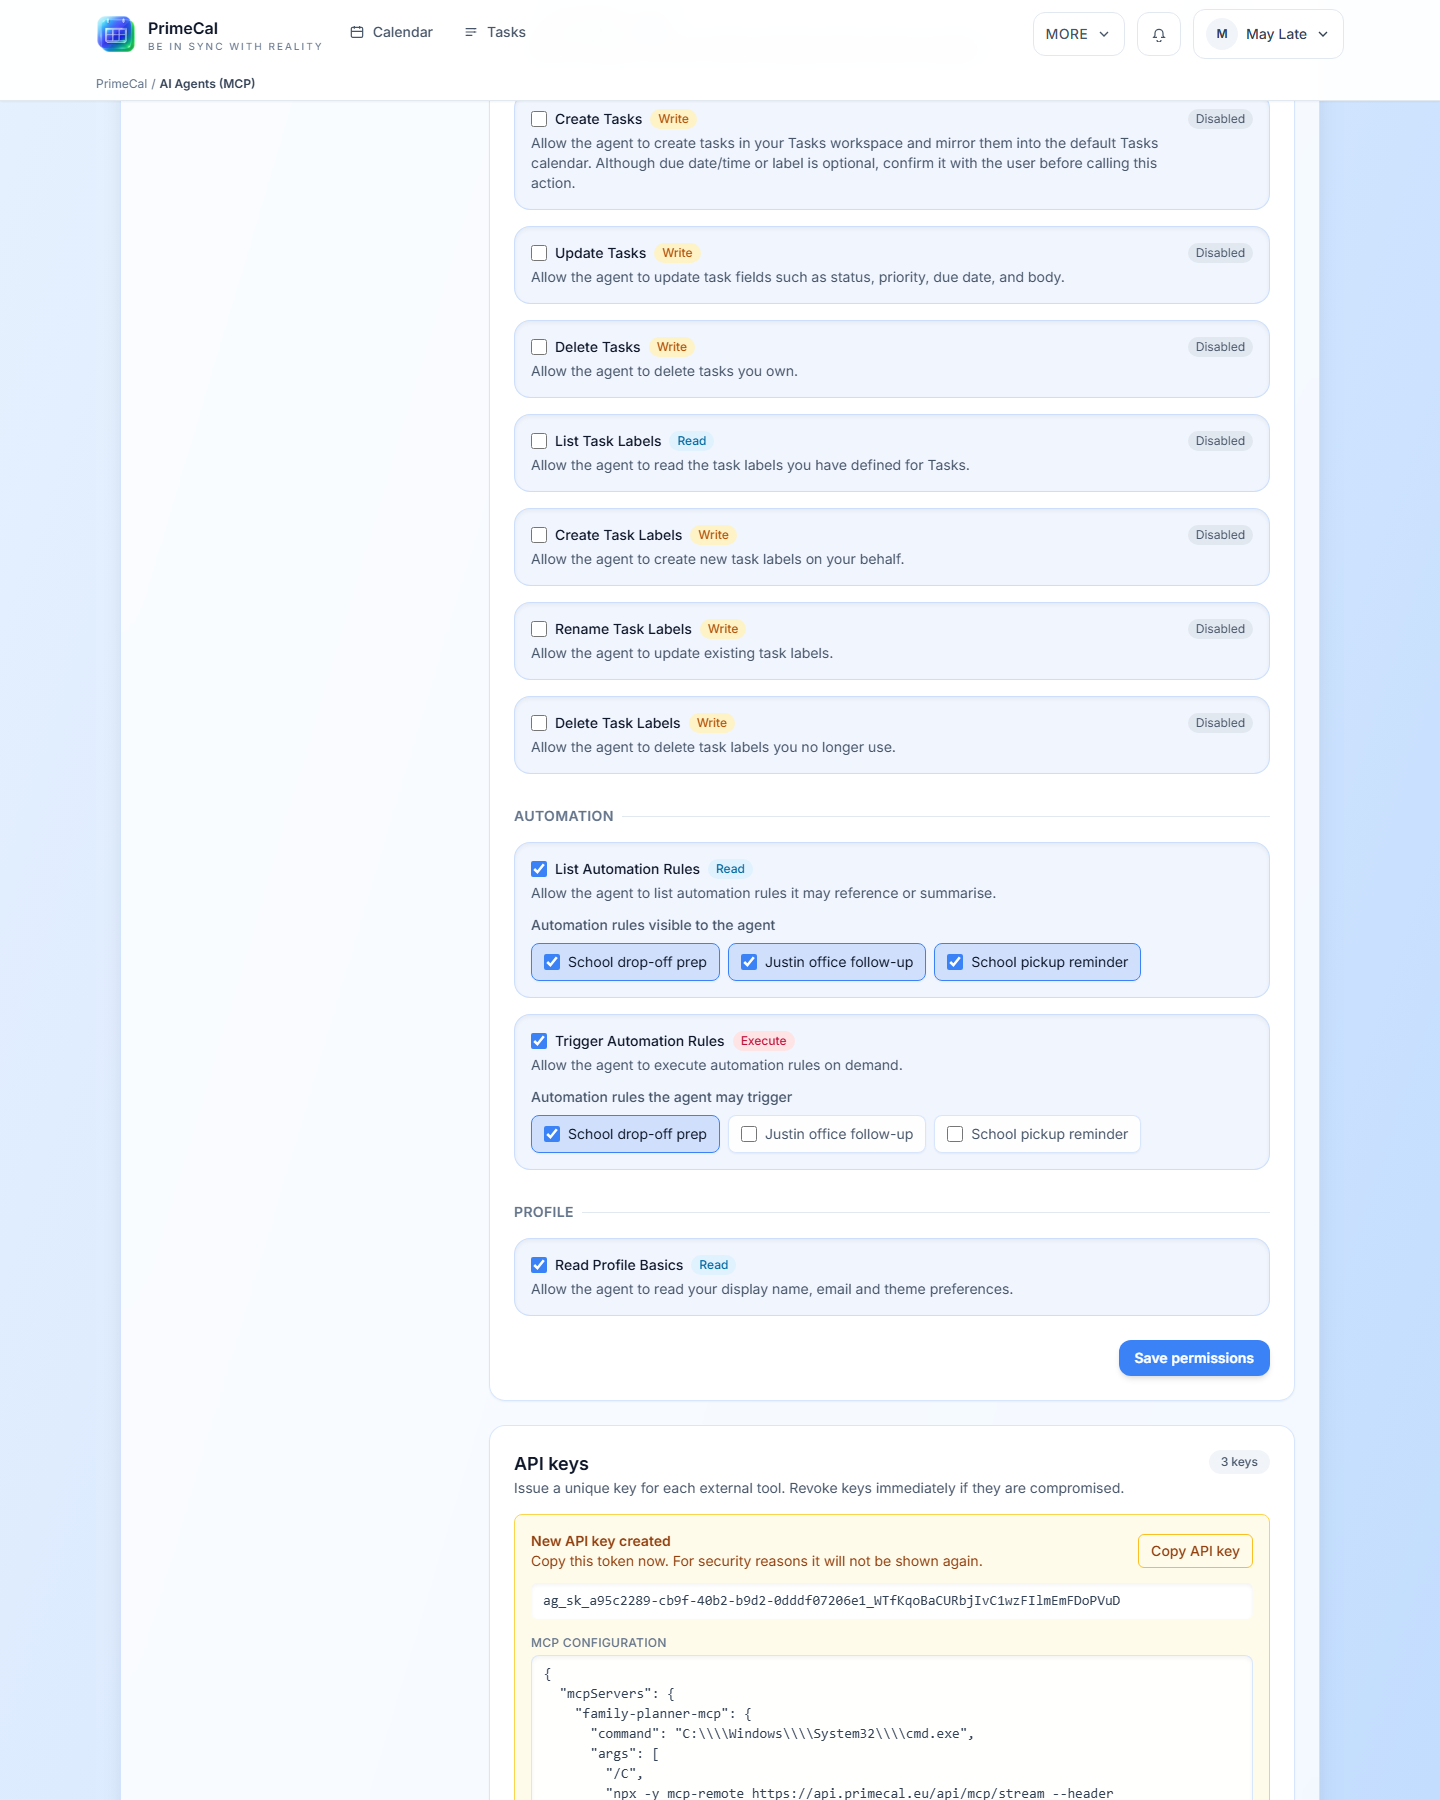
- Open the
API keyssection. - Click
Generate key. - Copy the plaintext key immediately.
- Store it in your host secret store.
The key is shown once. If lost, revoke and create a new one.
Step 5: Validate With a Safe MCP Call
After host connection, call a low-risk tool first:
primecal_profile_getprimecal_calendars_list
Then continue with read/write tools only after verification.
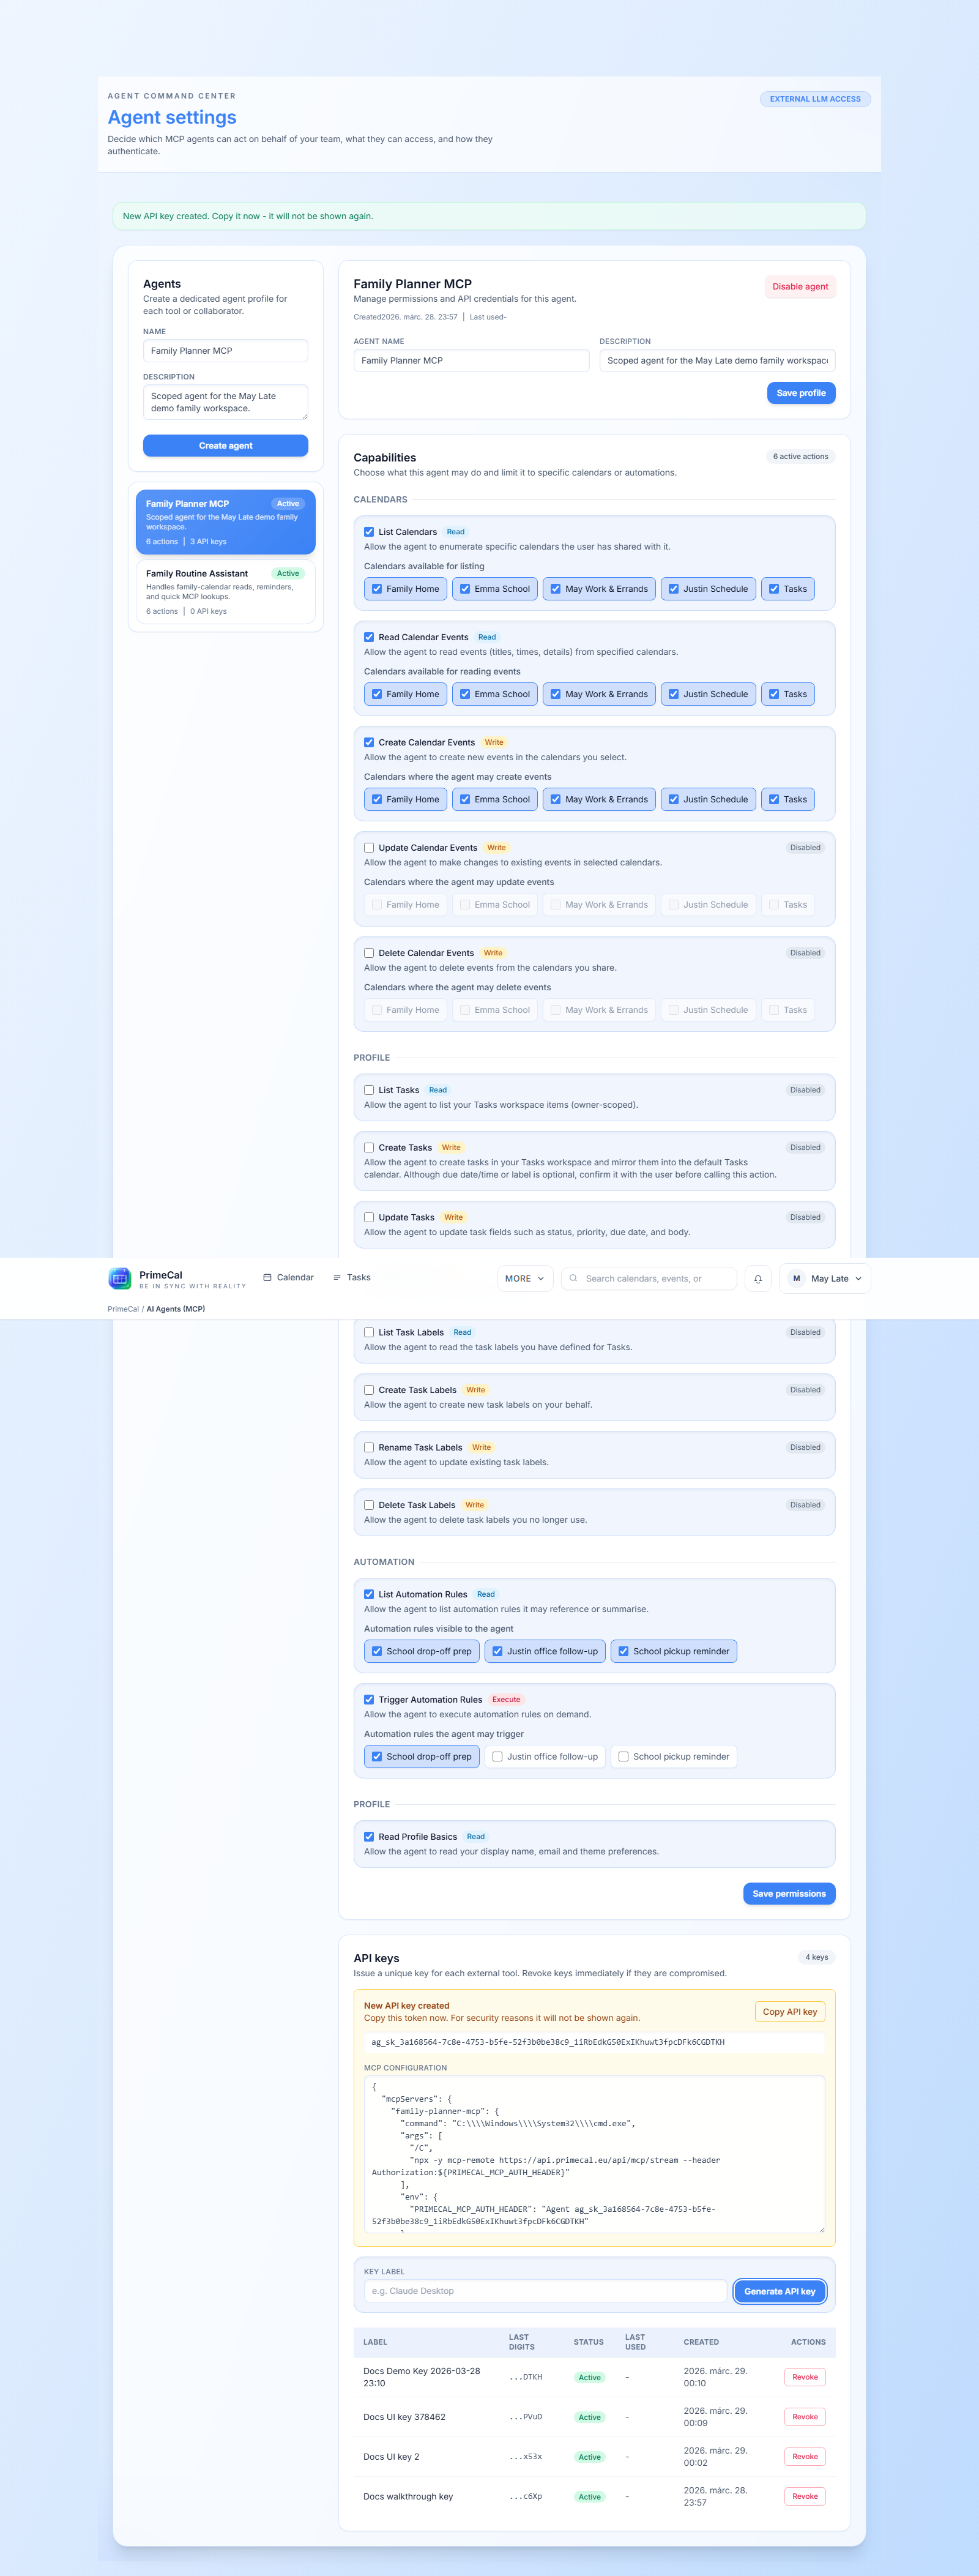
PrimeCal also provides a generated MCP configuration panel that you can copy into host setup screens.
When a preset is active, the generated configuration can include a human-readable permissionGroup annotation. MCP hosts still rely on the explicit action and scope list that PrimeCal enforces at runtime.
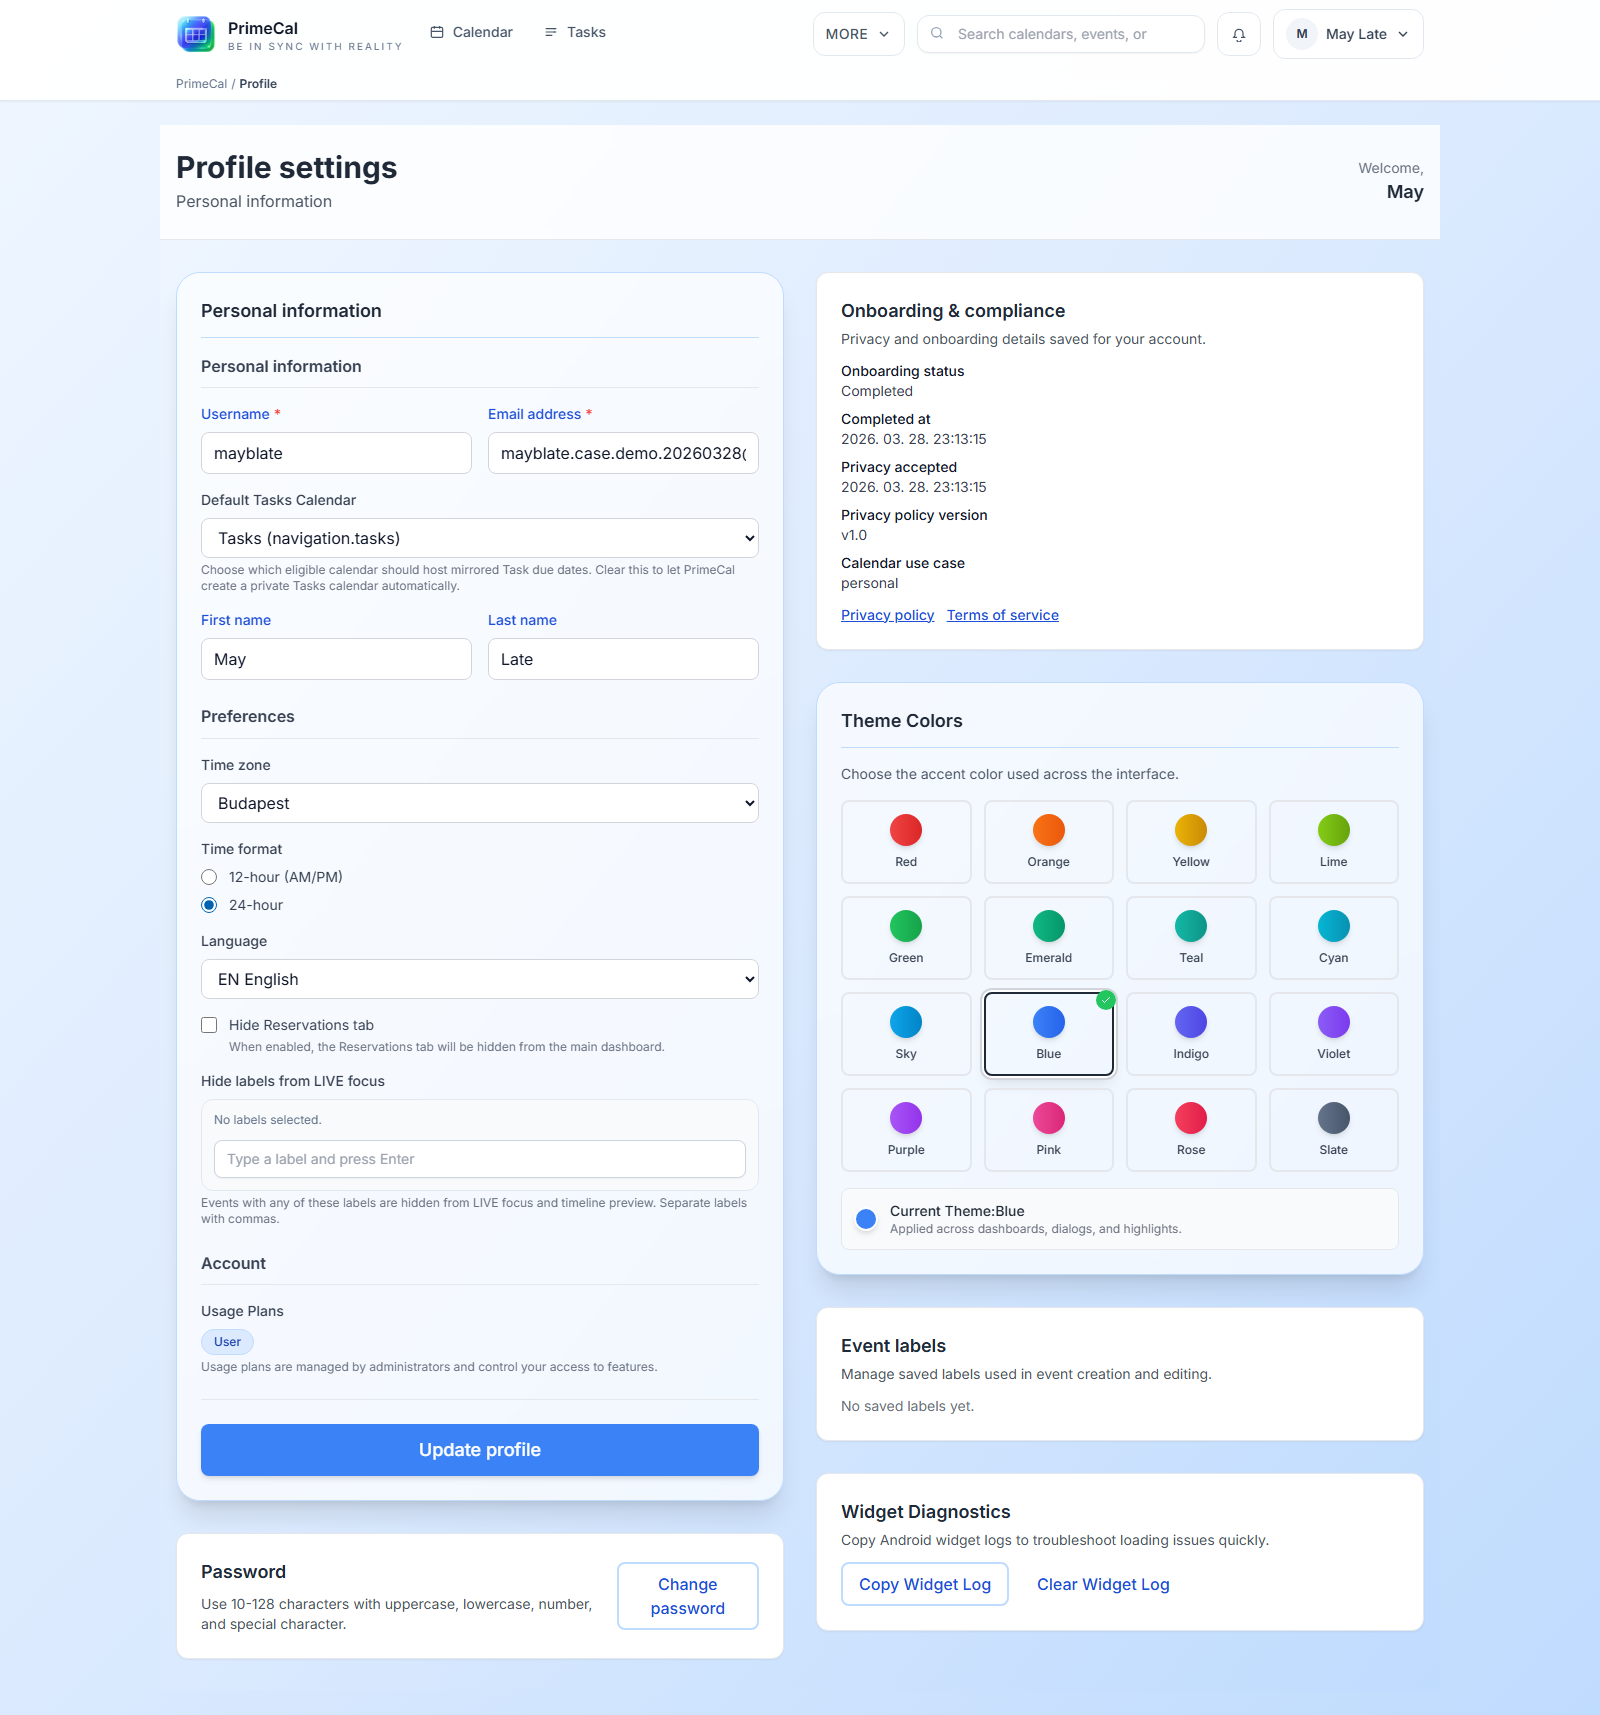
May.B.Late Demo Expectations
In seeded environments, validation should show:
- calendars named
Work,Personal,Side projects - profile timezone set to
Europe/Budapest - 24-hour time format (
24h)
Profile UI reference:
Rotate and Revoke
- Revoke unused keys immediately.
- Keep one key per host instance.
- Use separate agent profiles for browser vs desktop hosts.